
 Pin it
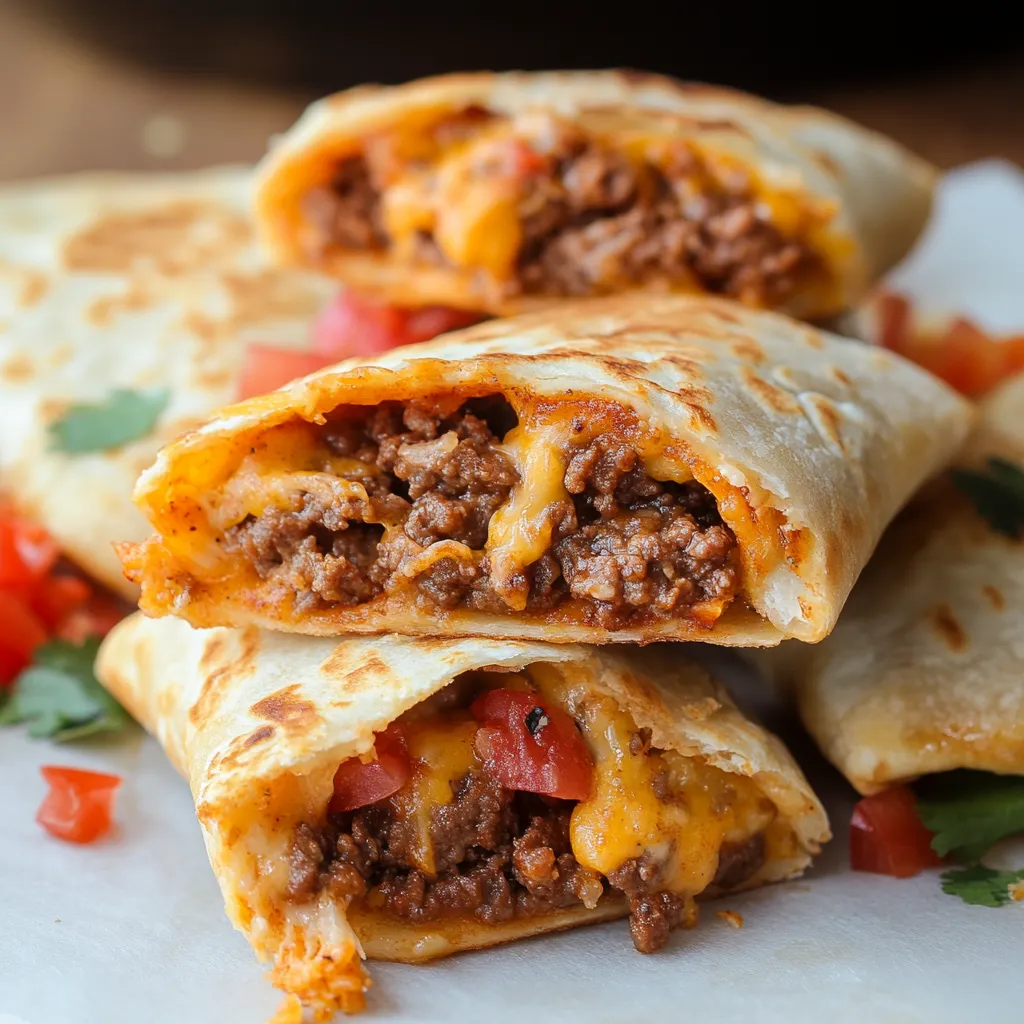
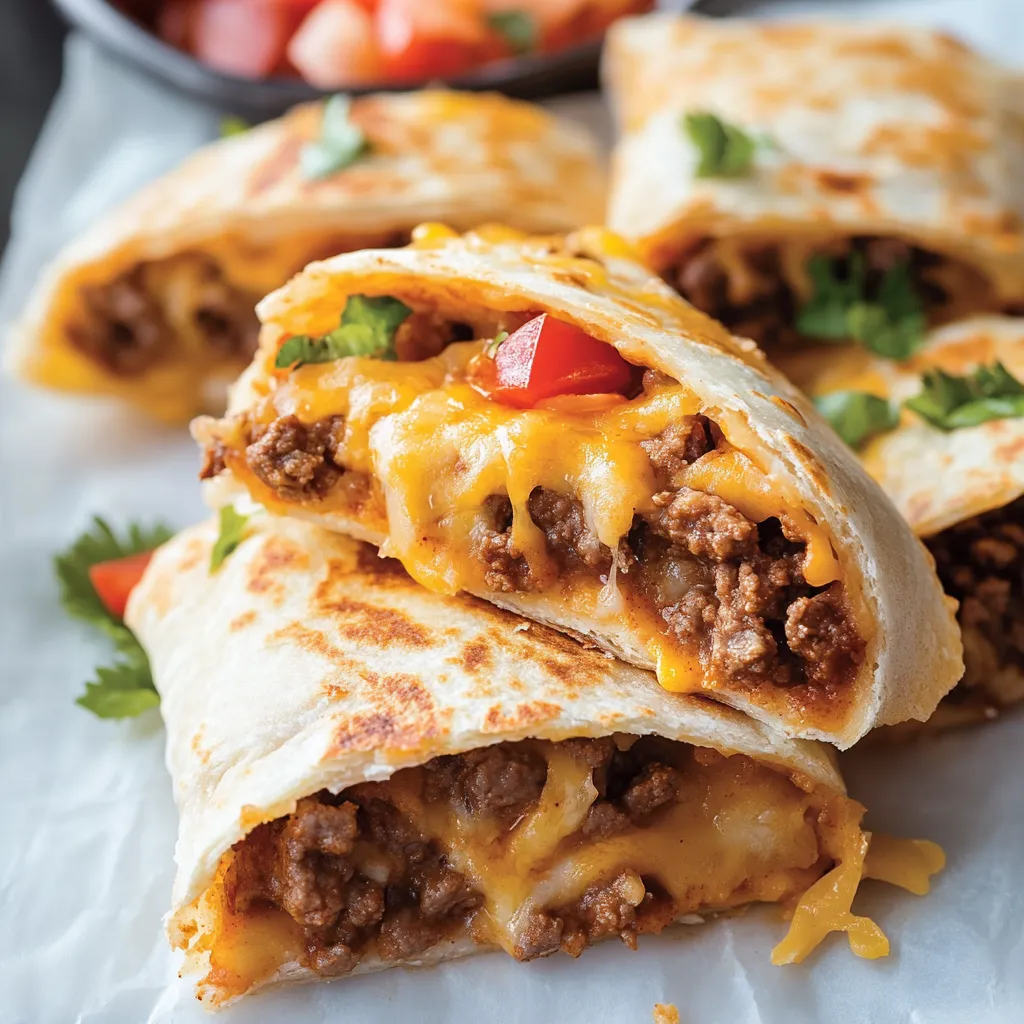
Spicy ground beef mixed with taco seasoning blends with smooth cheese and chunky salsa, all tucked inside soft tortillas and baked until golden and crispy. These tasty taco bundles bring fancy restaurant taste with easy prep that works great for busy family dinners. The grab-and-go style makes eating fun while keeping all those yummy juices and flavors trapped in a neat little pocket.
I came up with this idea during a crazy busy sports season when we needed food we could eat between games and practice. After trying lots of different versions, we all agreed this one was the best. My kids now ask for these all the time because they get all the taco flavor without stuff falling all over their laps like regular tacos.
Key Ingredients
- Ground beef: Forms the main filling that soaks up all the spices perfectly—grab the leaner kind for less fat or swap in ground turkey if you want something lighter.
- Cream cheese: Adds amazing richness and helps everything stick together, so your filling stays put—just make sure it's not cold when you use it for better mixing.
- Flour tortillas: Bend easily without breaking and turn a beautiful golden brown in the oven—always pick the freshest ones you can find for best results.
How To Make
- Cook The Meat:
- Toss your ground beef in a pan over medium heat, breaking it up with a wooden spoon into tiny bits. Get rid of the extra fat by draining it well so your pockets don't end up greasy. Mix in your taco seasoning with water, then let it bubble away until the liquid is mostly gone and the meat is packed with flavor.
- Mix The Cheese:
- Stir your room temperature cream cheese until it's completely smooth with no little lumps. Slowly mix in small spoonfuls of salsa, stirring well each time until everything's evenly combined and the same color throughout.
- Put Them Together:
- Lay each tortilla flat and spread the cream cheese mix down the middle to create a base that'll help hold everything else. Put some seasoned meat on top, then sprinkle plenty of shredded cheese over it. Fold the bottom up over the filling, then fold in the sides and roll it up, making sure everything's tucked in nice and tight.
- Line Them Up:
- Put your rolled-up pockets on a baking sheet with the seam facing down, leaving some space between each one for even browning. Brush the tops with melted butter using light strokes so you don't tear the tortillas.
- Bake Them:
- Stick the baking sheet in your preheated oven, right in the middle rack where the heat spreads best. Keep an eye on them toward the end since they can go from perfect to too brown really fast.
 Pin it
When my neighbor came over for dinner unexpectedly, she wasn't sure if baked tortillas would taste good enough. But after one bite, she couldn't stop talking about how the butter made the outside crispy while the inside stayed nice and soft.
Keeping Leftovers
Any extras can go in a sealed container in the fridge for up to three days. Warm them back up in the oven at 325°F until they're heated through, or try an air fryer if you want them extra crispy. Don't use the microwave though—it'll make the tortillas too soft and floppy.
 Pin it
Frequently Asked Questions
- → How far ahead can I prep them?
- You can put them together a day early and add butter just before baking.
- → Can these be frozen?
- Sure, freeze before baking, then bake frozen with extra time added.
- → What goes well with them?
- Pair them with sour cream, guac, or a side of rice.
- → Can I swap out the beef?
- Switch to ground chicken or turkey and use the same seasonings.
- → Why use cream cheese?
- It makes the filling creamy while keeping everything stuck together.