
 Pin it
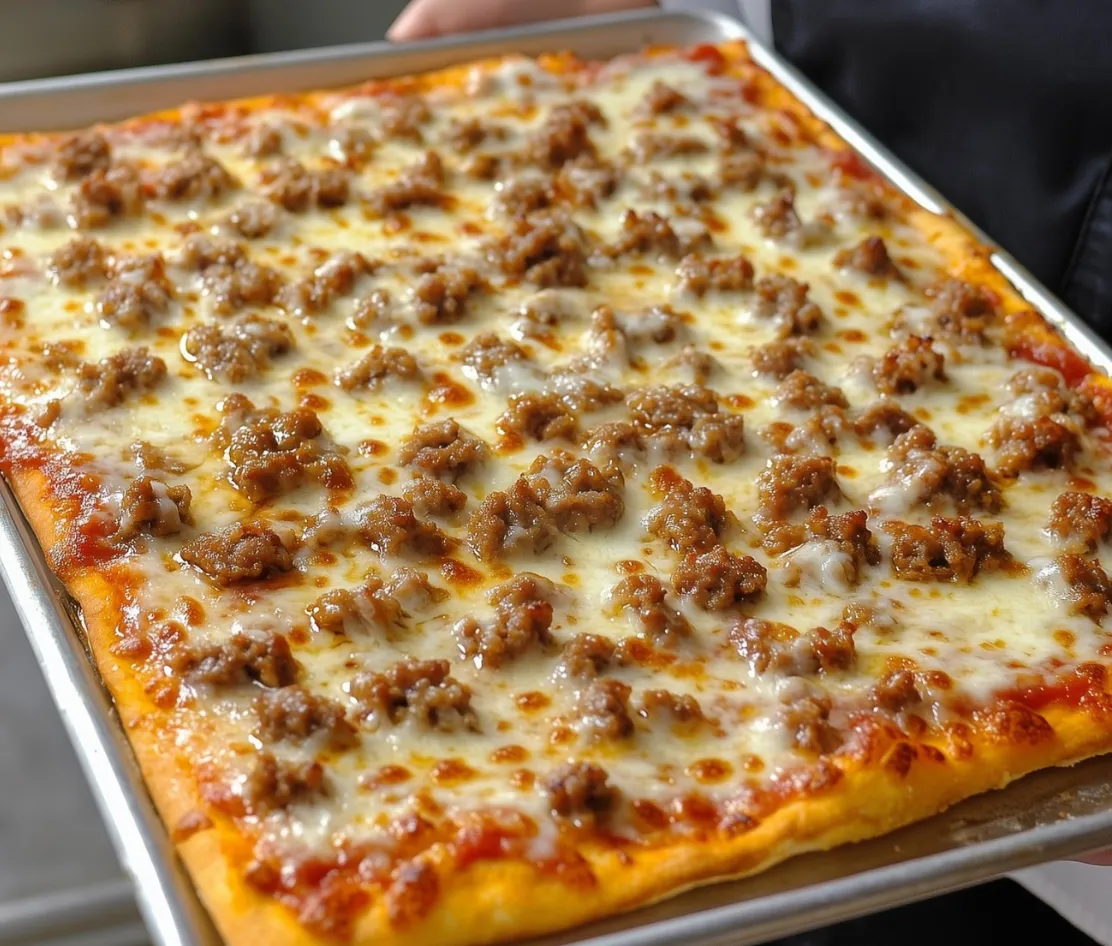
Bringing back those sweet lunchtime memories, this sheet pan pizza captures that unforgettable cafeteria magic we all loved as kids. The mix of a perfectly stretchy crust, tasty meat sauce, and gooey cheese lets you enjoy that same school lunch pizza feeling right in your own kitchen.
I've whipped this up so many times when family comes over, and it always gets everyone talking about their school days. The minute they see that rectangle shape and take their first bite, the smiles start spreading around the table.
Key Ingredients and Smart Shopping Advice
- All-purpose flour: Gives you that trademark chewy but firm bite
- Powdered milk: The hidden trick to nailing that cafeteria pizza taste
- Quick-rise yeast: Gets the job done without making you wait forever
- Italian sausage & ground chuck: Team up for that real-deal flavor punch
- Block mozzarella (not pre-shredded): Turns into those amazing cheese pulls when melted
- Tomato paste: Packs big flavor and makes the sauce just thick enough
Step-by-Step Cooking Guide
- Step 1: Crust Preparation (30 minutes)
- Mix your dry stuff in a big bowl. Make sure your water sits at 110-115°F to wake up the yeast properly. Don't overwork the dough - a few lumps actually help. If the dough fights back when spreading, let it chill out for a bit.
- Step 2: Initial Bake (8-10 minutes)
- Don't skip baking the crust first - it's what makes the texture just right. Look for tiny hints of brown at the edges. Pull it out while it's still mostly pale.
- Step 3: Meat Preparation (15 minutes)
- Cook both meats at the same time so the flavors mix together. Break it into tiny, even bits. Drain really well or you'll end up with soggy pizza.
- Step 4: Final Assembly and Bake (10-15 minutes)
- Spread sauce all the way to every edge. Scatter meat evenly across the whole thing. Lay down a complete blanket of cheese. Bake until you see little golden spots on the cheese.
My kid goes crazy for the powdered milk I put in this recipe - it's the sneaky little addition that makes the crust extra soft and tasty, exactly the way we remember from our school days.
Prep-Ahead Perks
This pizza works even better when you plan ahead. The sauce tastes richer if you make it a day early, and you can mix up the dough and keep it in the fridge for a full day. This makes life easier for busy families and actually improves the final taste.
Keeping It Fresh
This school-style pizza holds up way better than delivery when you need to save some. Just wrap each piece in foil and stick it in the fridge for up to three days. When you want to eat it, warm it in a 350°F oven for about 10 minutes - this brings back that fresh-baked texture without making it all mushy like microwaves do.
Ways To Switch It Up
While this pizza really nails that classic school lunch vibe, you can totally play around with it. Try mixing different cheeses, throwing on some peppers or mushrooms, or switching up the meat. The solid crust can handle lots of extra toppings but still keeps that nostalgic flavor we all loved growing up.
Frequently Asked Questions
- → What makes this nostalgic pizza so unique?
- It brings back those cafeteria vibes but done better—complete with homemade crust, hearty sauce, and tasty toppings.
- → Can I prepare the sauce early?
- Totally, making it a day ahead lets the flavors meld and saves you time when cooking.
- → What meats can I throw in as toppings?
- Ground beef and Italian sausage work great, but swap with your faves or skip meat altogether for a veggie option.
- → How long do I bake the crust before adding toppings?
- Bake it at 475°F for about 8-10 minutes first to firm it up before layering on the good stuff.
- → What cheese works best for this pizza?
- Mozzarella is a go-to because it melts so nicely, but you can get creative with other blends, too.