
 Pin it
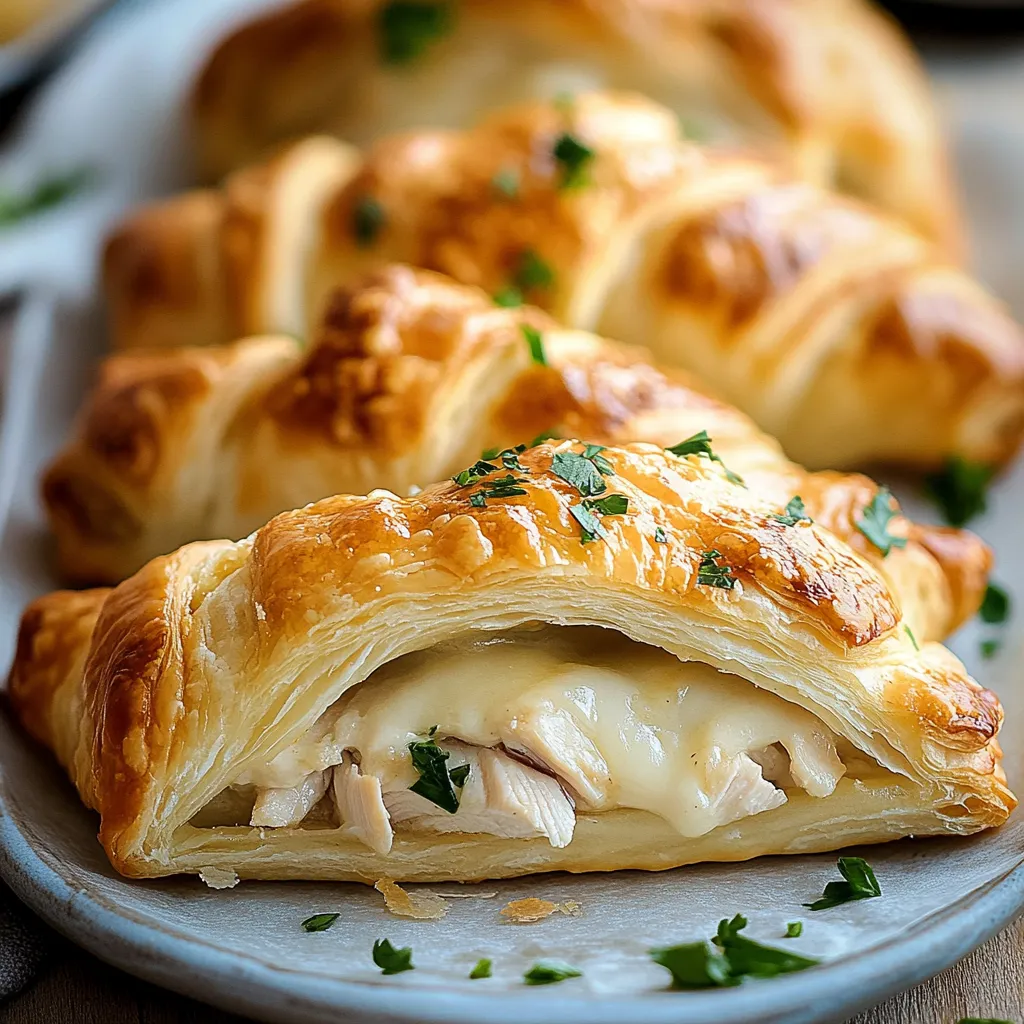
These tasty chicken crescent rolls turn basic ingredients into an amazing grab-and-go dish. I first came across this idea at a friend's party and have tweaked the chicken-to-pastry balance for the perfect handheld treat. It's like getting homemade flavor with half the work - store-bought crescents meet a from-scratch filling to create something that'll make everyone think you spent hours in the kitchen.
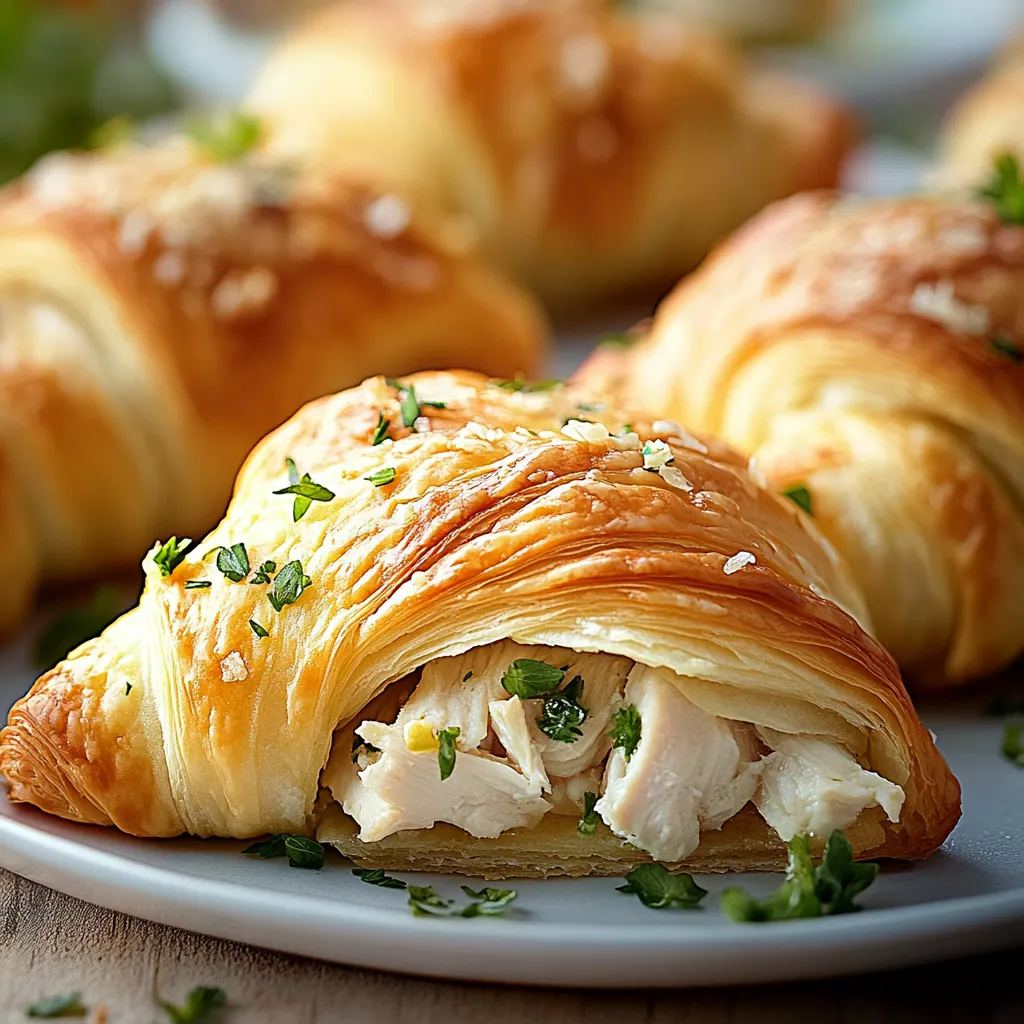
I can't count how many times these rolls have saved dinner on chaotic evenings or surprised drop-in company. The way the dough turns golden and puffy while hugging that savory chicken mix gets everyone excited. You'll love how they deliver that perfect mix of textures - the crisp outside, the layers of pastry, and that smooth filling inside.
Key Ingredients Breakdown
- Crescent roll dough: Store in fridge until you're ready to start. Try to find the ones made with real butter.
- Cooked chicken: Grab a rotisserie chicken for best results. Pull it apart while it's still warm after removing the skin.
- Cream cheese: Go for regular fat content and let it sit out to soften. Pick the solid brick kind, not the whipped stuff.
- Shredded cheese: Grate your own for better melting. Medium or sharp cheddar gives the best kick.
- Seasonings: Make sure your garlic powder is fresh for strongest flavor. Toss old spices that have been sitting around.
- Optional vegetables: Chop them super small and cook them first to get rid of water.
Making Flawless Rolls
- Watching Your Temps:
- Get your oven going at 375°F with the rack in the middle. Take cream cheese out about an hour early so it gets nice and soft. Put parchment on your baking sheet with extra hanging over the sides for easy lifting. Keep that crescent dough cold until the very last second. Getting these temps right makes your rolls extra flaky and stops the dough from getting too sticky.
- Putting It All Together:
- Take a big bowl and gently mix your soft cream cheese with the chicken pieces. The chicken should be warm but not hot, just enough to help soften the cream cheese. Gradually add your cheese and spices, tasting as you go. Your mix should hold its shape when scooped but still feel creamy. Don't overmix or you'll end up with filling that's too dense.
- The Perfect Roll:
- Work with just one can of dough at a time while keeping the other in the fridge. Carefully unroll the dough on a lightly floured counter. Gently pull the triangles apart along the cut lines without stretching them too much. If the dough starts getting sticky, pop it in the fridge for 5 minutes. Each triangle should stay intact without holes or tears.
- Adding The Filling:
- Put exactly one tablespoon of filling on the wide part of each triangle, leaving a small border around the edges. Roll from the wide end toward the point, keeping a gentle but steady pressure. Tuck in the sides as you roll to keep filling from escaping. Lightly press edges to seal, paying extra attention to the corners.
- Finishing Touch:
- Mix one large egg with a teaspoon of water until completely smooth. If needed, strain out any stringy bits. Using a brush, gently coat each roll with this egg mix, making sure to cover all exposed dough. This gives them that beautiful golden color and professional shine.
 Pin it
My grandma always told me the secret was handling the dough like it was precious. She'd say if you rush or handle it roughly, you'll end up with tough, chewy rolls instead of those light, flaky ones everyone loves.
Presentation Ideas
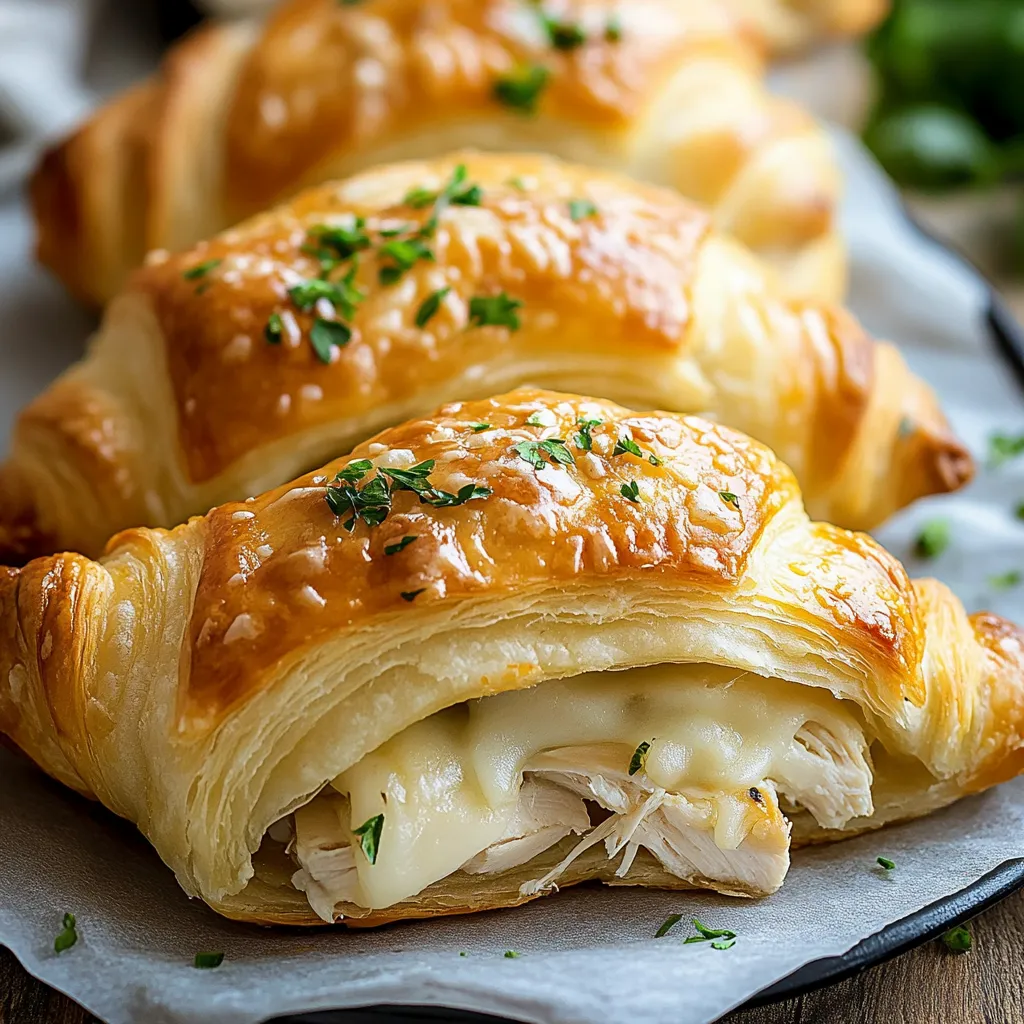
Show off your warm rolls on a country-style wooden plate or fancy serving dish with fresh herbs underneath. Place them in a circle with some space between each roll so they're easy to grab. Put out a few colorful small dishes with dips - regular ranch, sweet and tangy honey mustard, and warm tomato sauce go really well with these. Sprinkle some fresh parsley or chives on top for a pop of color. Pair with a simple green salad with light dressing to make it a complete meal.
Fun Flavor Options
- Buffalo Style: Pull apart chicken and mix with hot sauce, blue cheese crumbles, and chopped celery.
- Mediterranean: Throw in some spinach, feta chunks, and chopped sun-dried tomatoes.
- Mexican: Mix in some chopped green chiles, Mexican cheese mix, and taco spices.
- Breakfast Version: Switch to scrambled eggs, cheese, and cooked breakfast sausage.
- Italian: Blend in some pesto sauce, mozzarella, and tiny pieces of roasted red peppers.
Just make sure any version has the same total amount of filling so they roll and bake properly.
Keeping Them Fresh
You can keep unbaked rolls in the fridge for up to 8 hours if covered with plastic wrap. Put parchment between layers if you stack them. For baked rolls, let them cool all the way before putting them in an airtight container with wax paper between each layer so they don't stick. They'll stay good in the fridge for up to 2 days. When you want to eat them, warm in a 350°F oven for 5-7 minutes to get them crispy again. Don't use the microwave or they'll turn rubbery and tough.
 Pin it
These chicken crescent rolls show how everyday ingredients can create something truly special when you treat them right. They've become the number one recipe people ask me for at family dinners and parties alike. There's something magical about that mix of buttery, flaky pastry wrapped around the creamy, well-seasoned chicken inside. Whether you serve them as snacks, main dishes, or party food, these rolls prove that sometimes the best cooking comes from blending convenience with a personal touch.
Frequently Asked Questions
- → Can I use rotisserie chicken for these?
- Absolutely! Just shred or chop it to make mixing easier.
- → How do I keep these from getting soggy?
- Don’t use overly wet fillings, seal the edges tightly, and avoid overstuffing to stop leaks while baking.
- → What dips taste good with them?
- Try ranch, marinara, honey mustard, or even buffalo sauce for a tasty pairing.
- → Can I make this without using cream cheese?
- Sure! Swap it with ricotta or just use extra shredded cheese, though it might change the overall texture.
- → What’s the best way to store and reheat extras?
- Keep them in an airtight container in the fridge for up to 3 days. For crispy results, warm them in a 350°F oven for 5-7 minutes.