
 Pin it
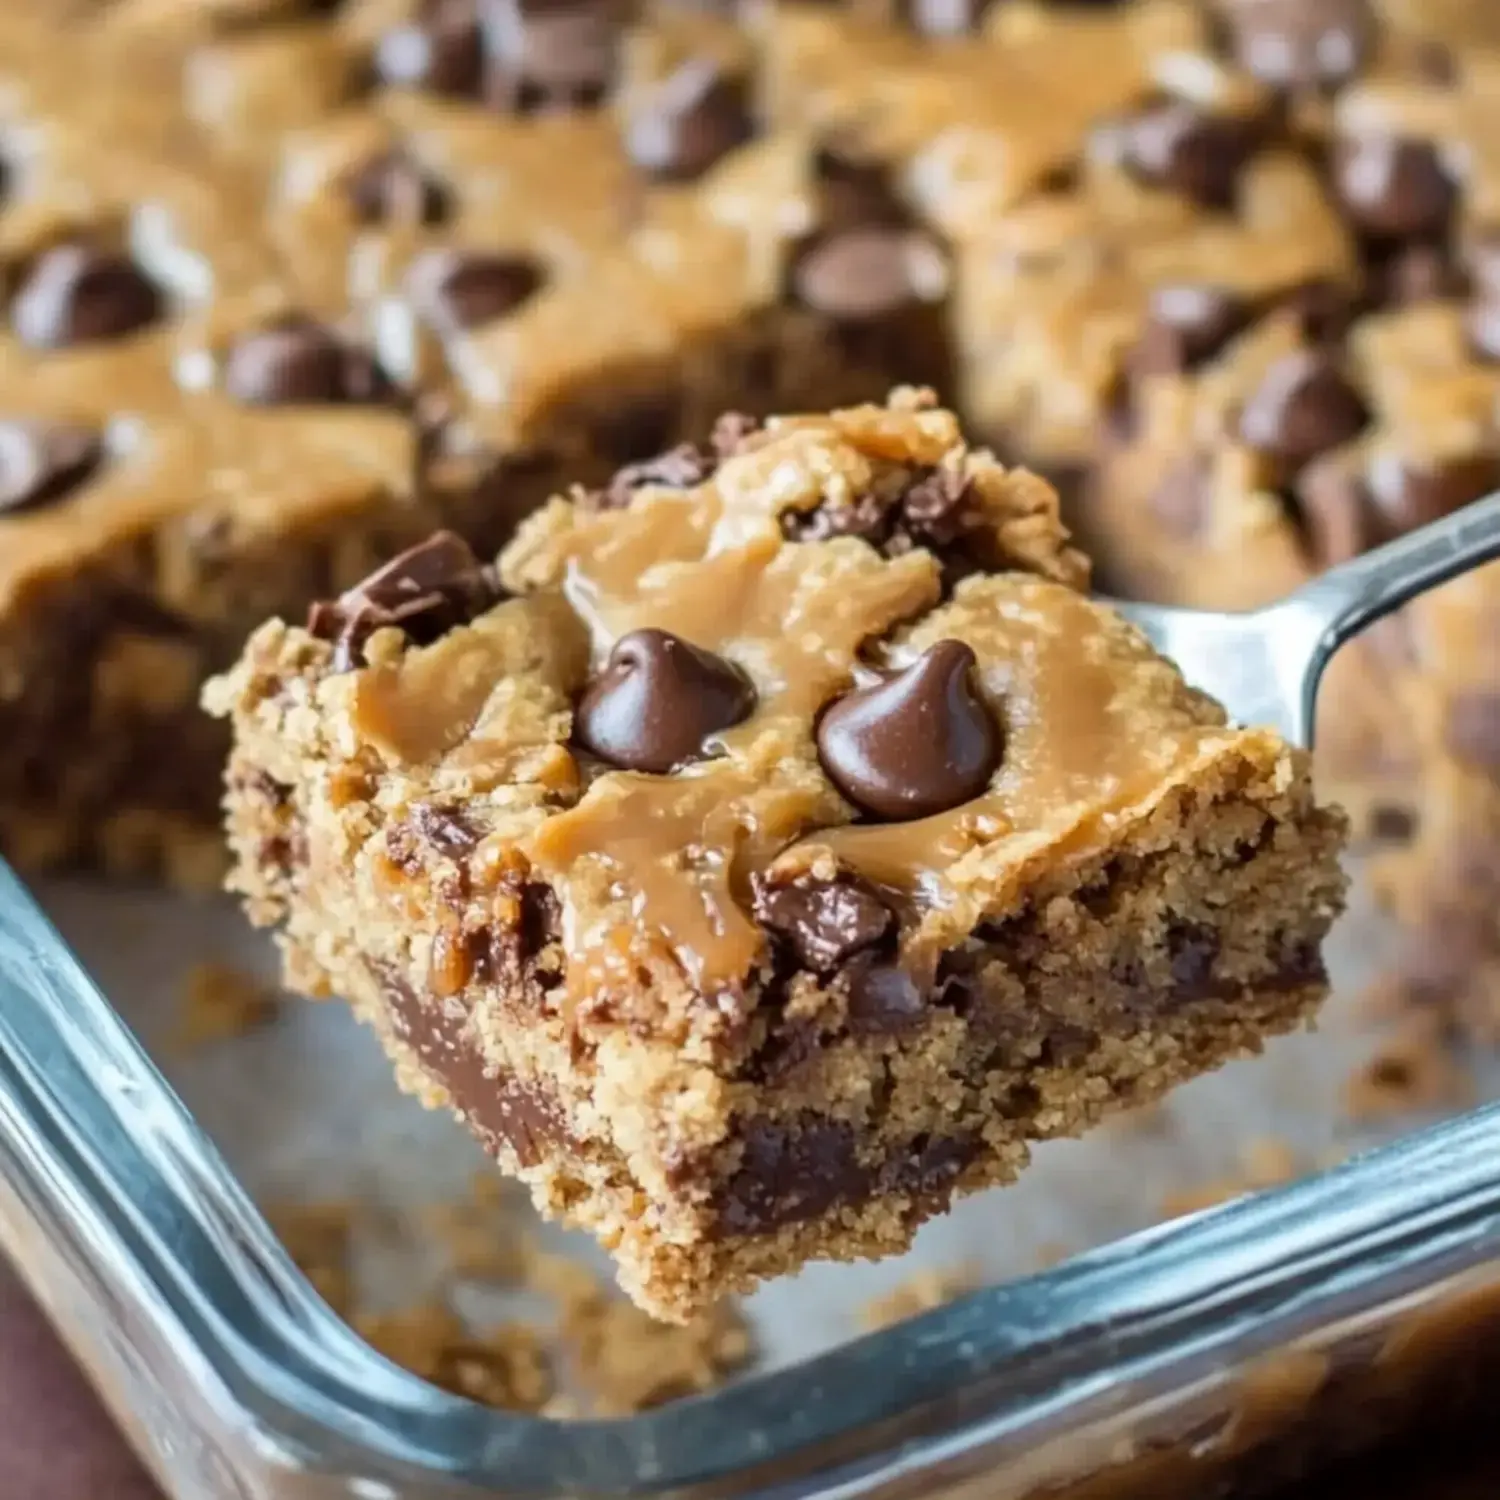
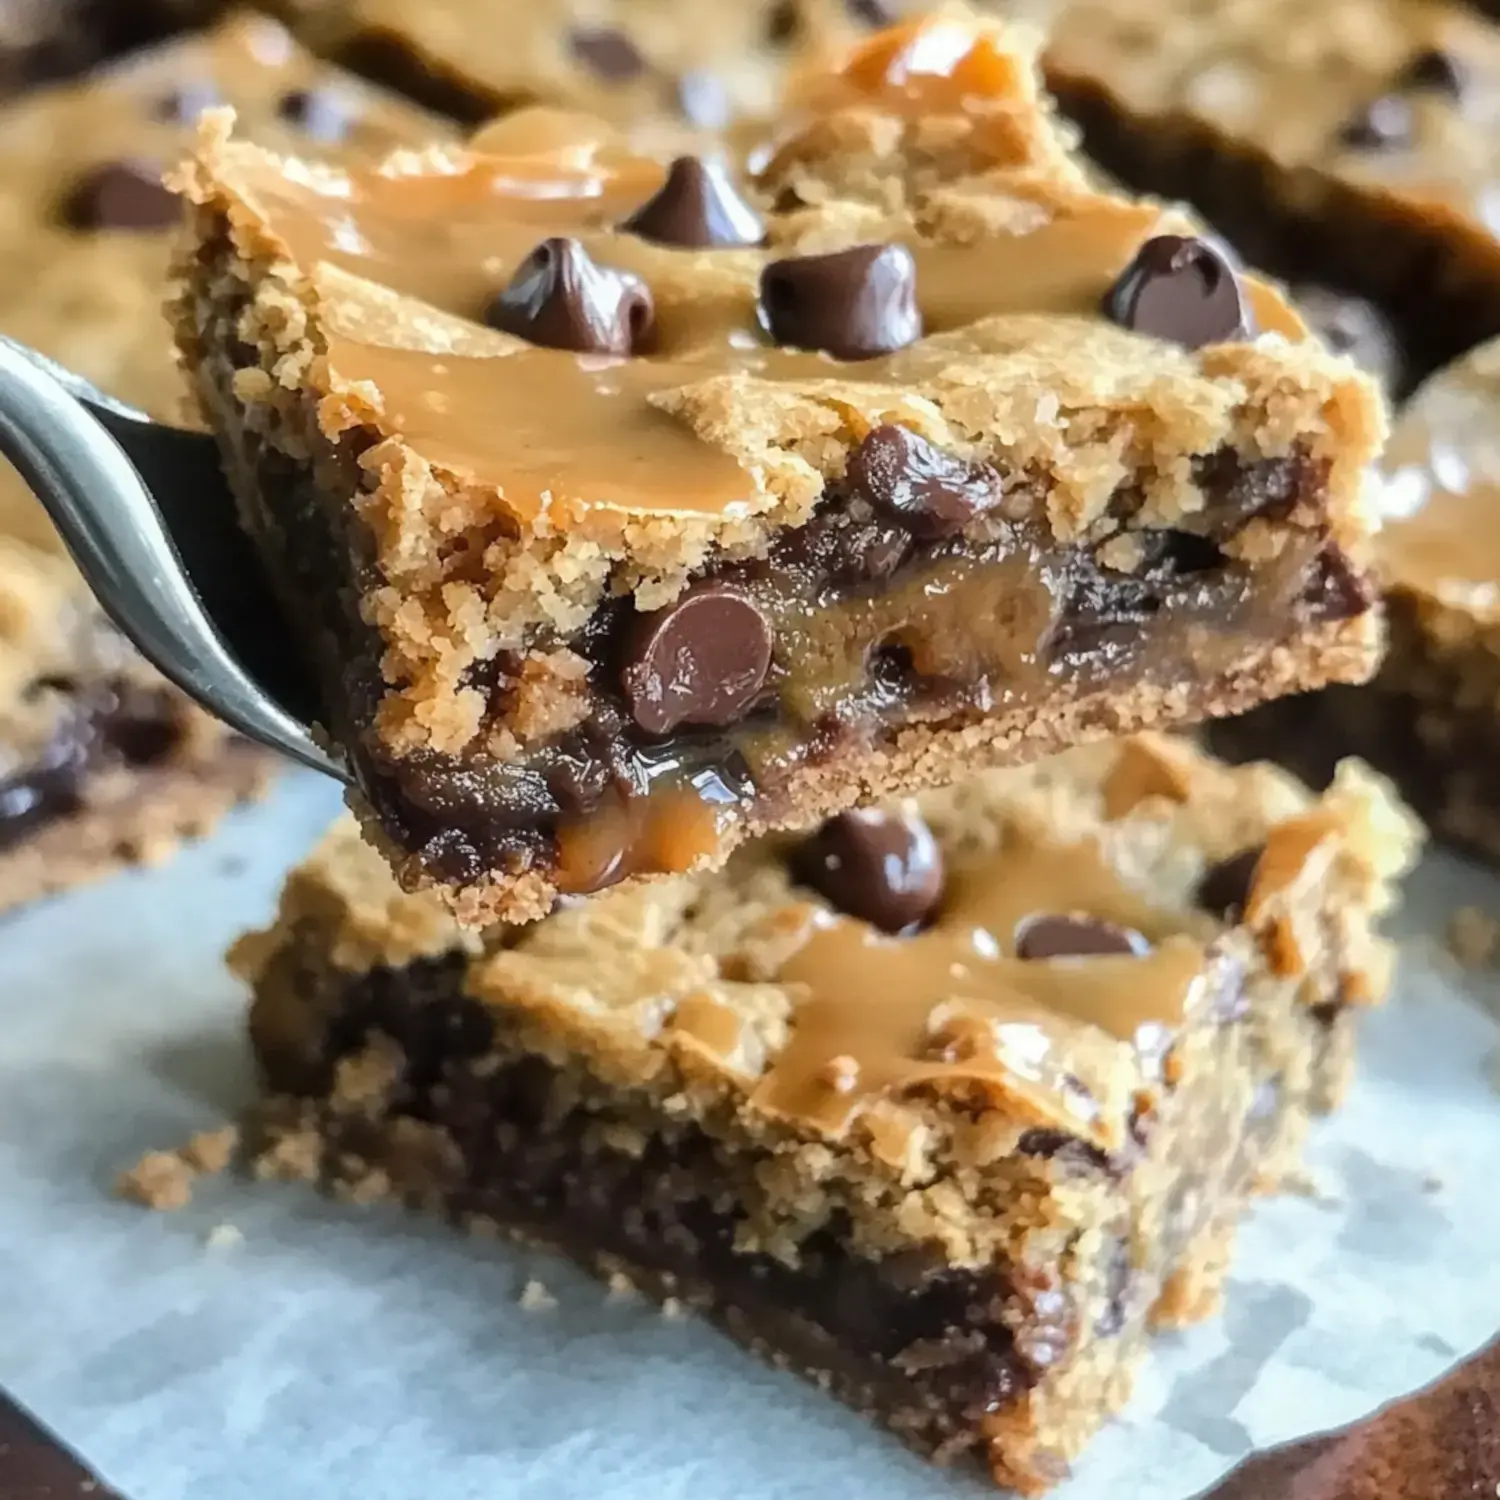
These Sinful Caramel Squares blend sticky caramel, nutty peanut butter and rich chocolate into mind-blowing treats. They got their name for good reason - one taste and you'll be floored by how amazing they are. I still debate whether to pass them around or keep the whole batch for myself whenever I whip them up.
Why These Squares Stand Out
What I adore about these bars is how they combine everything you want - sweetness, saltiness, stickiness and chewiness. The caramel just sinks into that cookie foundation while those chocolate bits add pops of decadence. They're supposed to be for gatherings but honestly, they rarely make it out of my house. Thankfully, they freeze really well on those rare occasions I manage to save a few.
Required Components
- Flour: Forms the foundation for that delightful chewy base I can't resist.
- Baking Soda: Provides that subtle rise for just the right consistency.
- Salt: Enhances every taste in the mix.
- Butter: Delivers that mouthwatering richness we all crave.
- Sugar: Gives you that beautiful caramelized top.
- Brown Sugar: Brings those lovely toffee undertones.
- Vanilla Extract: Adds depth to each delicious layer.
- Eggs: Binds all our goodies into one perfect treat.
- Semi-Sweet Chocolate Chips: Create those divine melty surprises throughout.
- Evaporated Milk: The secret to our ultra-smooth caramel.
- Caramels: The showstopper in our gooey middle.
- Peanut Butter: Just enough to add that perfect nutty flavor.
How to Create Sinful Caramel Squares
- Get Your Baking Dish Ready
- Heat your oven to 350°F and don't skimp on greasing that 9x13 pan, you'll thank me later.
- Combine Dry Stuff
- Mix flour, baking soda and salt in a bowl and put it aside for now.
- Whip Up Your Dough
- Cream your butters with sugars until light and airy, drop in eggs and vanilla, then fold in your dry mix and chocolate bits.
- First Baking Round
- Press half your dough into the pan and bake until barely firm, around 8-10 minutes.
- Create Your Gooey Middle
- Warm the caramels with evaporated milk, mix in your peanut butter until it's velvety, then drizzle over your hot base.
- Add The Final Layer
- Scatter chunks of remaining dough on top of your amazing caramel layer, gently spreading it out.
- Final Baking
- Pop it back in for 15-20 minutes until it turns golden, then comes the toughest part - waiting for them to cool down.
The Origins of These Treats
Whenever I bring these squares anywhere, folks always wonder about their unusual name. After one bite, it all makes sense. That magical blend of cookie, caramel and chocolate creates something truly unforgettable. They're what I turn to when I need to wow everyone at the table.
Switch Things Up
You can leave out the peanut butter if there are allergy concerns or try butterscotch chips for something different. Just remember to use evaporated milk instead of condensed - these treats are sweet enough already.
Storage Tips
Make sure they're completely cool before cutting - seriously, don't rush this step. They'll stay yummy in a sealed container for about 3 days, if they last that long. You can freeze them up to 3 months and they'll thaw perfectly.
Fancy Serving Ideas
I love pairing these with a scoop of vanilla ice cream or some fresh raspberries for contrast. They're amazing with a steaming mug of coffee or a tall glass of cold milk. For extra wow factor, I sometimes add another drizzle of warm caramel on top - it's pure heaven.
 Pin it
Frequently Asked Questions
- → What type of caramel is best?
- Go for soft, wrapped caramel candies from the candy section. Skip caramel sauce since it doesn’t set properly.
- → Why is a double boiler needed?
- It lets you gently melt the caramel without burning it, keeping it smooth and creamy.
- → Can I prepare these in advance?
- Sure, you can! Just store them in a sealed container and place parchment between layers so they don’t stick.
- → Why bake the bottom first?
- This step creates a firm base, making it ready to hold the heavier caramel layer.
- → How do I know when they’re baked?
- Look for lightly golden edges on top. The center may seem soft but will firm up as it cools.