
 Pin it
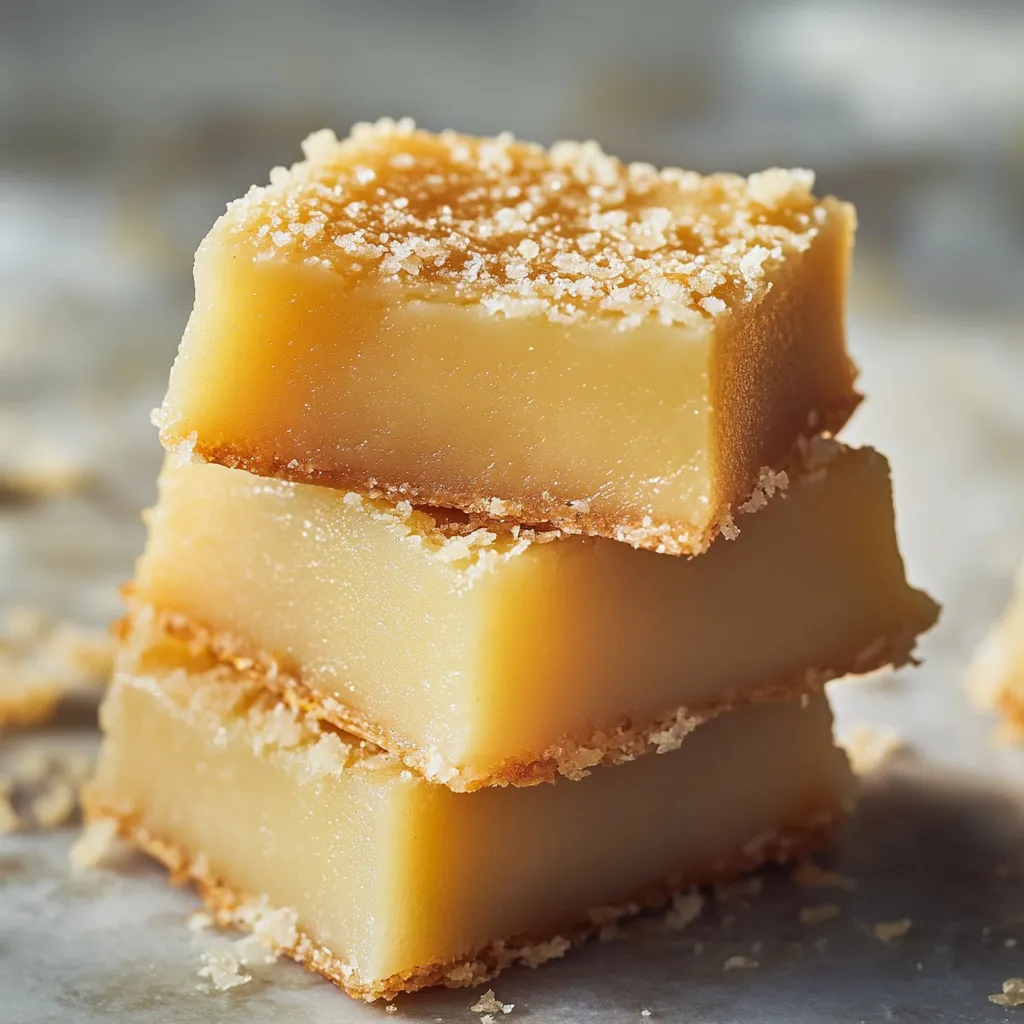
Every bite of Hawaiian butter mochi brings sheer comfort - soft and chewy inside with a crispy, golden coconut exterior. This treasured dessert from the islands turns ordinary kitchen staples into an addictive treat that perfectly balances sweetness and mouthfeel.
These butter mochi squares vanished in moments at our block party luau. Everyone grabbed seconds - even first-time mochi eaters couldn't resist the combo of that crunchy coconut top and that chewy middle.
Key Components
- Mochiko Sweet Rice Flour: 16 oz/454g box, the must-have for genuine mochi chewiness
- Butter: 1 cup/226g unsalted, melted, makes those crisp edges
- Sugar: 2 cups/400g granulated, gives just the right sweetness
- Milk: 1 cup/240ml whole, adds a creamy richness
- Eggs: 4 large, room temperature, holds everything together
- Coconut Milk: 13.5 oz/400ml can unsweetened, brings that island taste
- Baking Powder: 2 teaspoons, helps it rise slightly
- Vanilla Extract: 1 tablespoon pure, deepens the taste
- Salt: 1 teaspoon kosher, cuts through sweetness
- Coconut: 1 cup/85g unsweetened shredded, creates that famous top layer
- Sea Salt: 1/2 teaspoon flaky (optional), finishing touch
Cooking Steps
- Get Ready:
- Heat your oven to 350°F (175°C). Grease a 9x13-inch metal baking pan generously with butter.
- Mix Dry Stuff:
- Stir together mochiko, sugar, baking powder, and salt until there aren't any lumps.
- Handle Wet Stuff:
- Beat those eggs well, then mix in milk and vanilla until it looks smooth.
- Blend Everything:
- Pour your wet mix into the dry stuff and stir it all up. Don't worry about overmixing with mochiko.
- Finish Up:
- Stir in melted butter and coconut milk until it's silky. Pour into your pan, tap it to get rid of air bubbles. Sprinkle coconut evenly on top with optional sea salt.
 Pin it
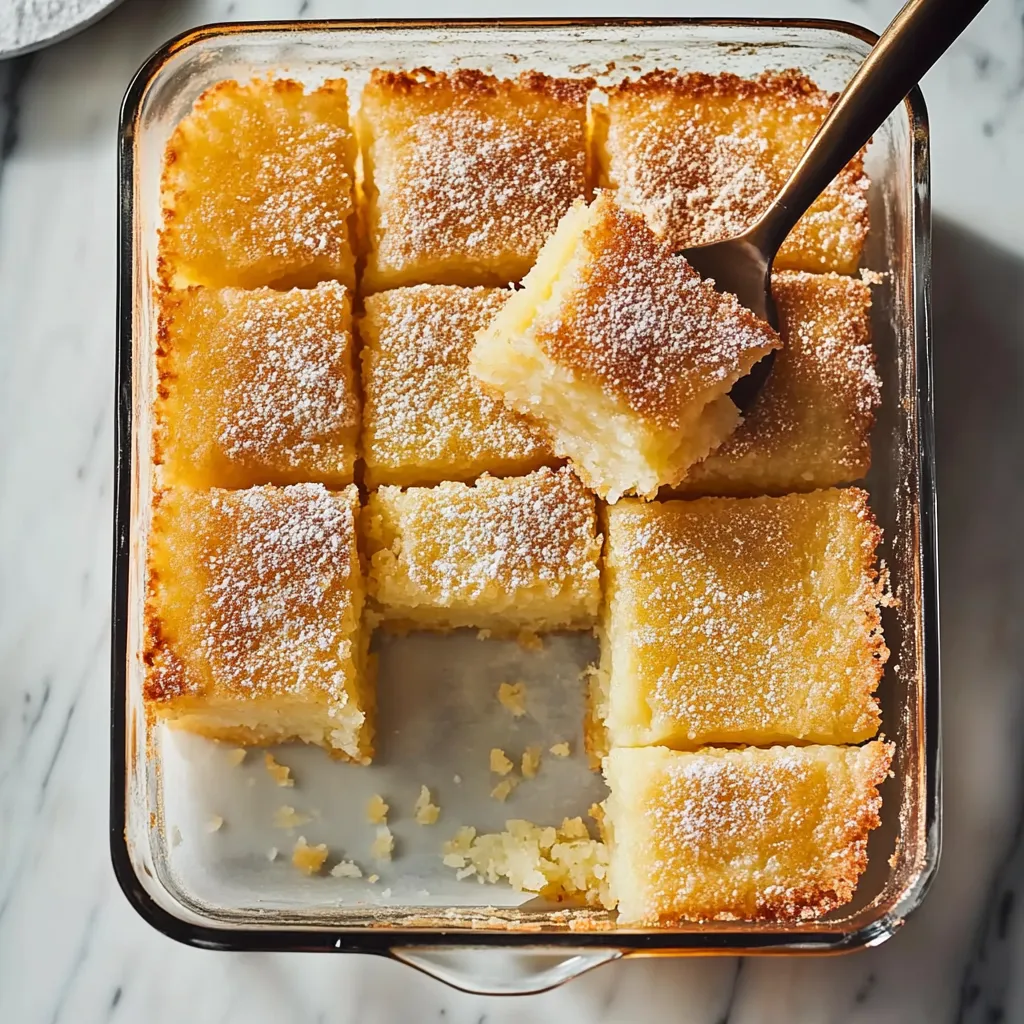
At my house, the corner pieces always get snatched up first. I now cut them a bit bigger than the middle pieces to keep everyone happy. Those extra chewy edges next to the soft center just can't be beat.
Baking Know-How
Look for a golden brown top that still jiggles slightly in the middle. When you give the pan a little shake, your mochi should wobble a bit. That's when you know it's done just right.
Cooling Instructions
Let it cool all the way on a wire rack for an hour before cutting. This wait lets the texture fully develop and gives you nice clean cuts.
Getting Organized
Get all your stuff measured and laid out before you start. This makes the whole process super smooth from beginning to end.
Serving Ideas
Cut into big squares when serving. They taste great on their own, but fresh tropical fruit makes them even better.
Different Takes
Try adding a splash of almond or coconut extract for different flavors while keeping that classic chewy texture everyone loves.
Keeping Fresh
Keep in an airtight container at room temp for up to three days. The texture changes a bit over time but stays wonderfully chewy.
 Pin it
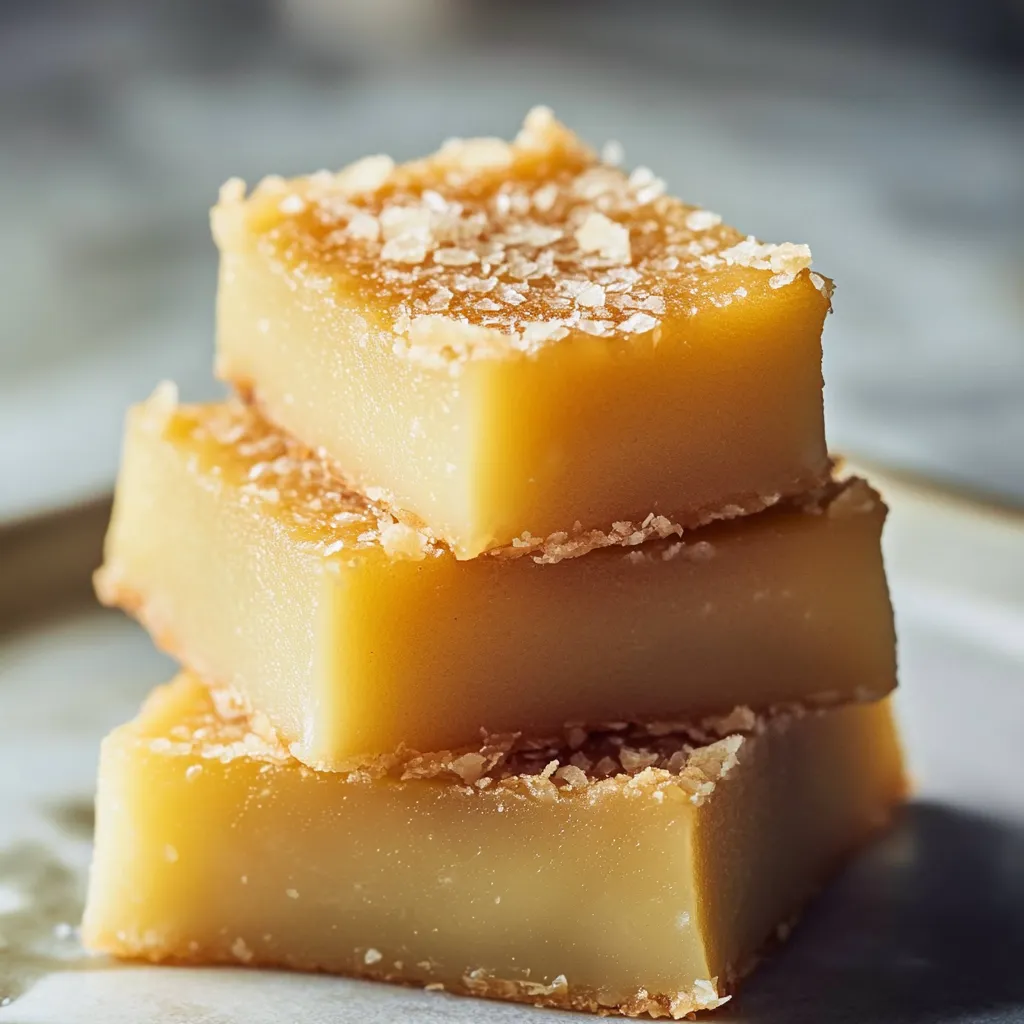
I've tweaked this butter mochi recipe for years to get it just right. It now brings pure joy with each chewy bite. The way it showcases true Hawaiian flavors makes it a hit at any get-together, giving everyone a taste of authentic island comfort.
Frequently Asked Questions
- → What is mochiko, and can I find it easily?
- Mochiko is sweet rice flour made from glutinous rice. You’ll usually see it in Asian markets or international grocery aisles.
- → Why use a plastic knife for cutting mochi?
- Since mochi is super sticky, a plastic knife keeps it from clinging to the blade and gives better, clean slices.
- → How do I adjust this for no dairy?
- Go dairy-free by replacing milk with extra coconut milk and swapping butter for melted coconut oil.
- → How do I store mochi to keep it fresh?
- Place it in an airtight box. Keep it on the counter for up to three days or up to a week in the fridge.
- → Why are there cracks on top of my mochi?
- Small cracks are normal and don’t change the taste. To minimize, lower oven heat and let it cool down nice and slow.