
 Pin it
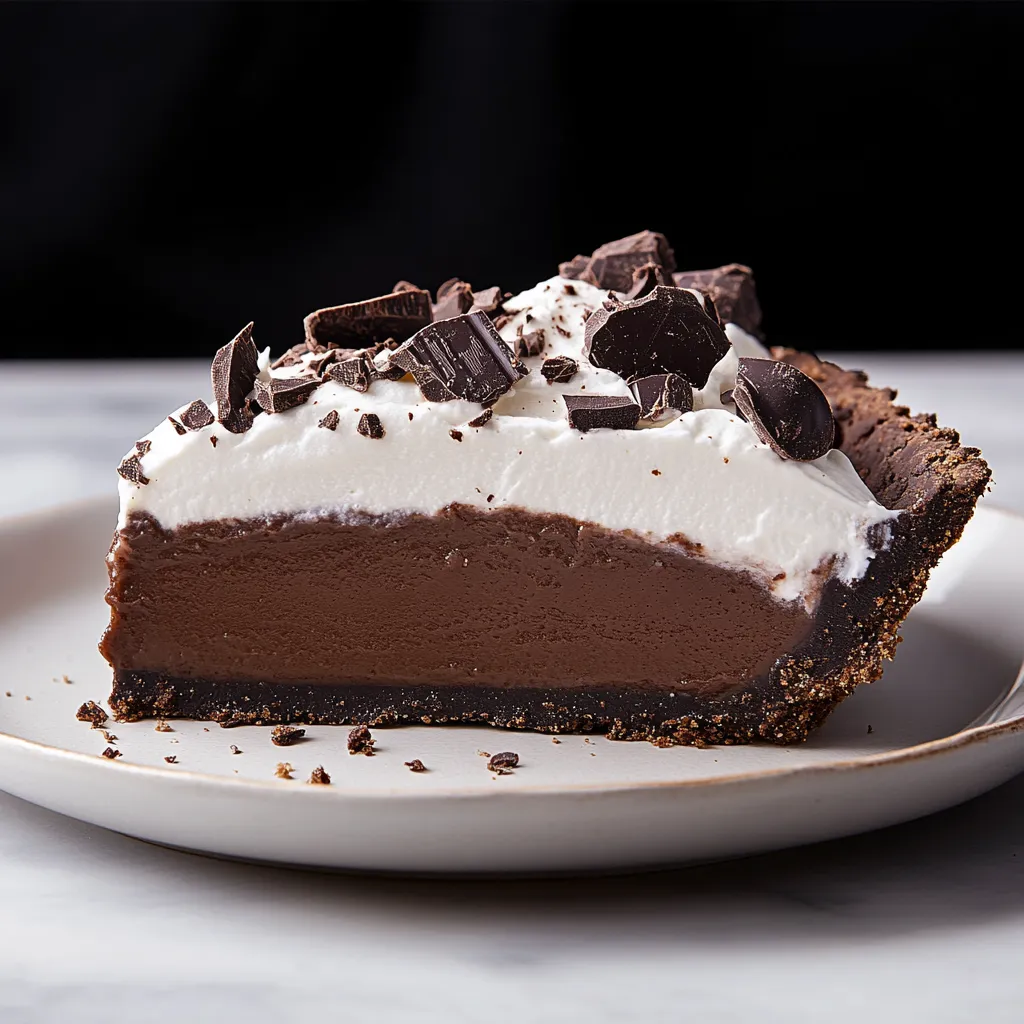
This Chocolate Cream Pie takes me back to grandma's cooking days. The snap of the Oreo bottom works so well with the smooth chocolate pudding inside, and the fluffy whipped topping makes every mouthful heavenly. You can whip up this fancy-looking dessert at home without any complicated steps.
Why I Can't Get Enough of This Treat
I've tried dozens of chocolate pies over the years but this one really hits the spot. The from-scratch filling totally beats anything from a box with its rich chocolate flavor and creamy feel. It's my go-to when I need to impress friends or just want something sweet and fancy.
What You'll Need for This Chocolate Beauty
- Oreo Cookies: They form that yummy chocolate base everyone craves.
- Melted Butter: Just the right amount to bind our crust nicely.
- Milk and Dark Chocolate: Using both kinds creates something really special.
- Cornflour/Cornstarch: The key to getting that pudding texture just right.
- Egg Yolks: These add that extra smoothness and richness.
- Milk and Cream: Working together for that super smooth filling.
- Salt, Vanilla, and Sugar: My must-have trio for boosting flavors.
- Whipping Cream: The perfect finishing touch on top.
Let's Create Some Deliciousness
- Putting Together The Bottom
- Smash those Oreos finely, stir in the melted butter and push into your pan. Bake for ten minutes at 350°F/180°C. Push it down gently if it rises too much.
- Making The Filling
- Combine your cornflour, salt and sugar in a saucepan. Add the milk, cream and egg yolks, cook until thickened, then stir in chocolate, butter and vanilla until shiny.
- Finishing Up
- Empty that gorgeous filling into your cooled crust, cover with plastic and chill it overnight. You'll thank yourself for waiting.
- Topping It Off
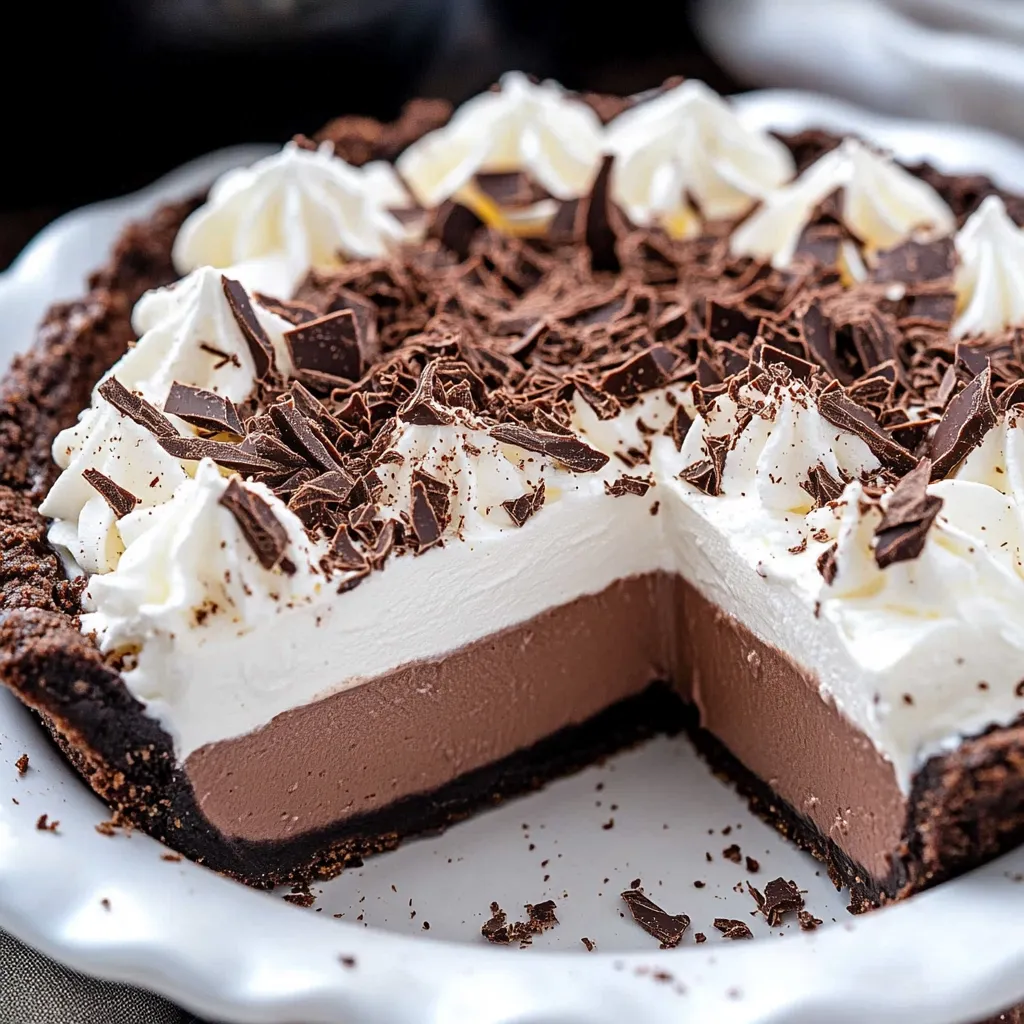
- Beat some cream until fluffy, spread across the top and sprinkle with chocolate bits.
Insider Tricks
Don't skimp on chocolate quality, it really shows in the taste. Make sure you let it sit in the fridge long enough. I sometimes add a spoonful of mascarpone to keep my whipped cream standing tall. Always serve straight from the fridge for the best mouthfeel.
Storage Smarts
Your creation will stay yummy in the fridge for up to two days without the cream on top. Add whipped cream just before you're ready to serve. Wrap any extras tightly in plastic to maintain that wonderful texture.
Questions I Often Hear
- Need to make it early? You can fix this up two days before, just add the whipped topping when serving.
- Fancy a different base? Graham crackers make a tasty swap.
- Got lumps in your filling? Keep stirring or pour through a sieve before adding the chocolate.
Why Folks Love This Version
This dessert combines all the best things about sweets. That amazing contrast between the crunchy bottom and velvety filling plus the cloud-like cream creates something truly special with each forkful. My relatives always ask for seconds when I make it.
Twists You Might Try
I sometimes layer in some salted caramel or peanut butter before adding the filling. You can try different cookies for the base too. During Christmas, I sprinkle crushed candy canes on top for a festive look.
What Goes Well With It
This dessert tastes best when it's nice and cold from the fridge. I enjoy mine with a big mug of coffee or hot cocoa. It always becomes the star at family gatherings and dinner parties.
Tips From Experience
Don't stop stirring that filling or you'll regret it. Cover it as soon as you pour it in the crust. And remember, fresh whipped cream and letting it chill overnight aren't optional in my book.
A Slice Of Happiness
This dessert holds a special place in my heart. Every time I make it, I'm amazed at how the velvety filling, crunchy crust, and fluffy topping come together. It always brings happy faces and empty plates.
 Pin it
Frequently Asked Questions
- → How long can this dessert be stored?
- It’ll stay fresh in the fridge for up to 3 days. After that, the crust might lose its crisp. Add the whipped topping closer to serving for best results.
- → What do I do if the custard turns lumpy?
- Take it off the heat and give it a quick, hard whisk. If it’s still bumpy after adding chocolate, pass it through a strainer before putting it in the crust.
- → How do I keep the whipped cream stable?
- Mix in 100g of mascarpone before whipping it. That way it holds its shape for 2-3 days without going flat.
- → What’s the best chocolate to use?
- Use dark chocolate with 70% cocoa and some milk chocolate from the baking aisle. Don’t go for eating chocolate as it might not melt nicely.
- → Why cover the filling with paper?
- It stops a skin from forming on top of the custard while it’s cooling and firming up.