
 Pin it
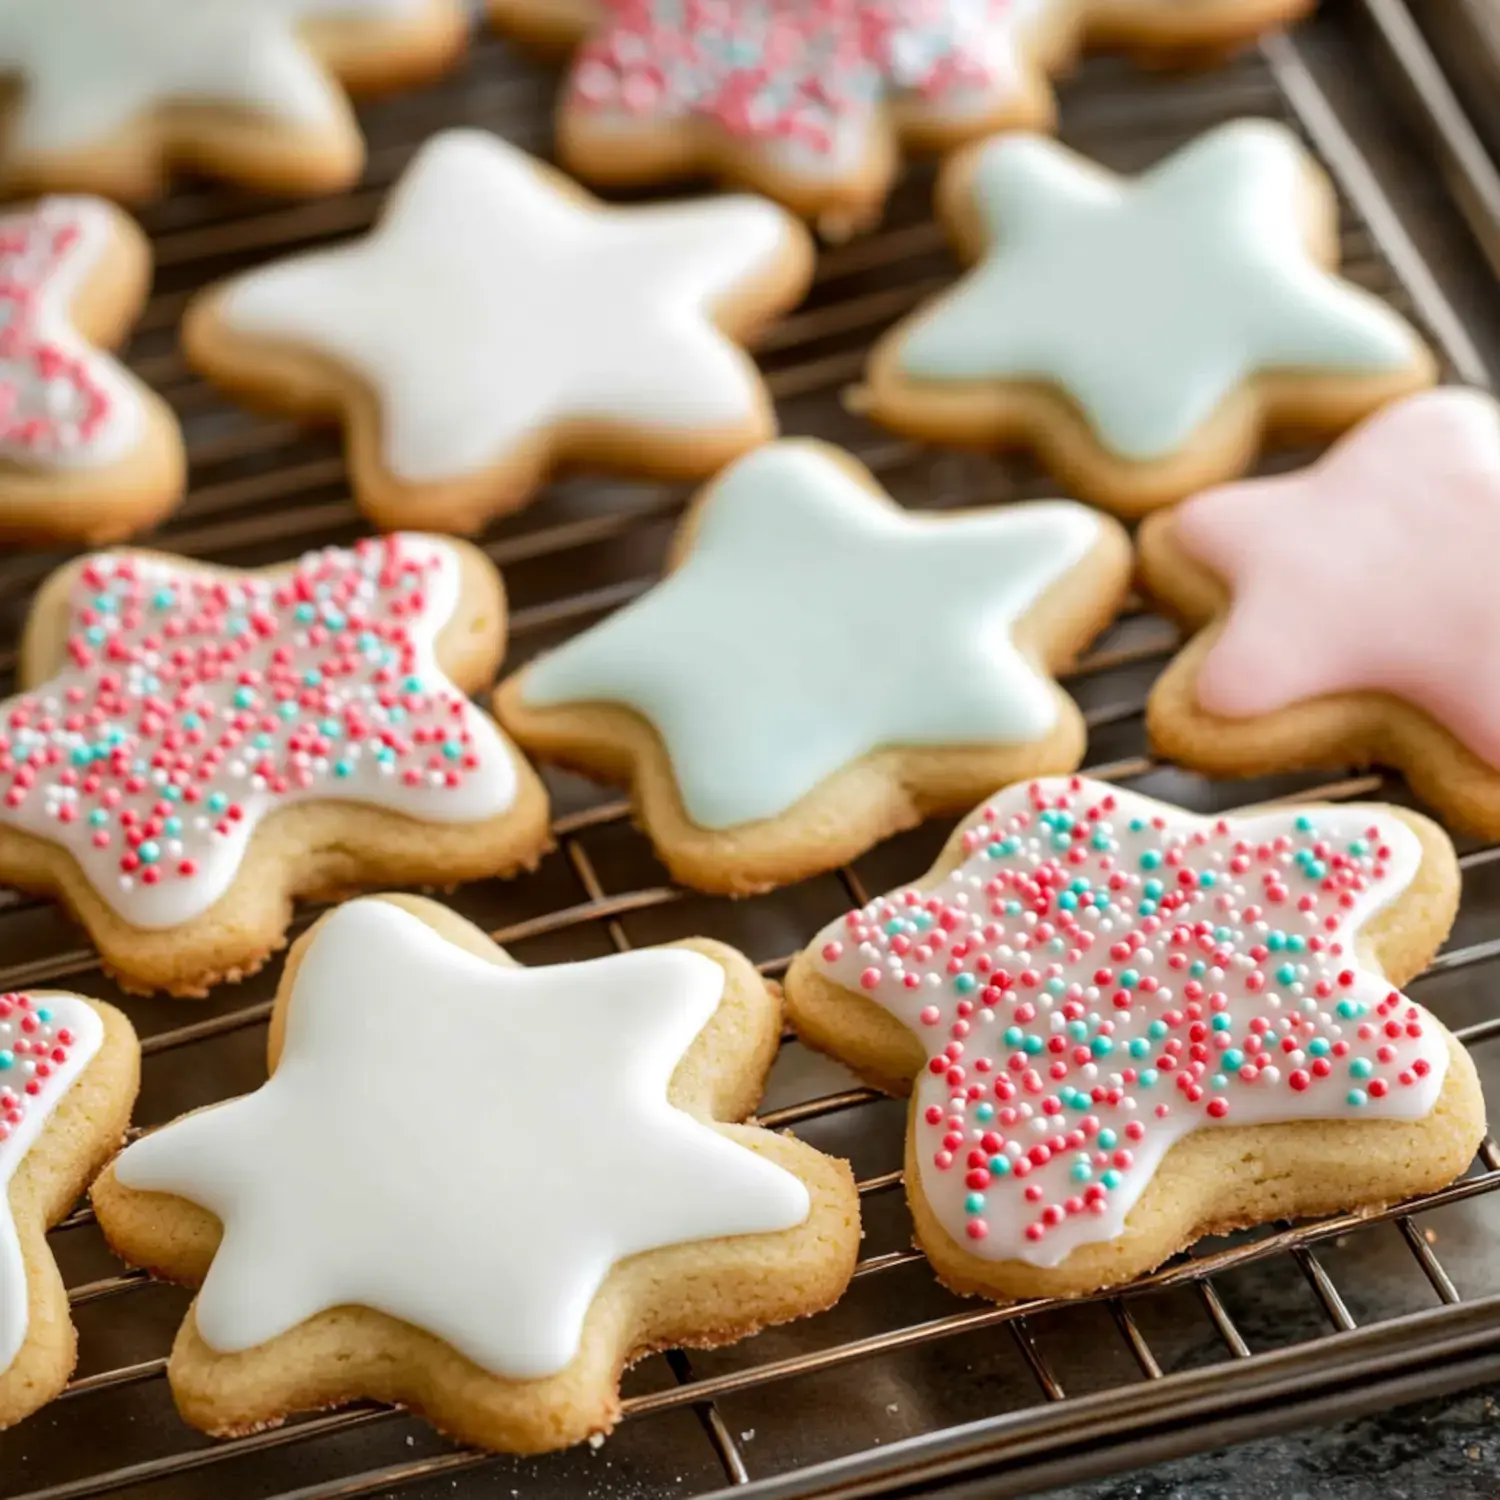
I've brought this sugar cookie formula with me to so many celebrations, school fundraisers, and family gatherings. Through plenty of tasty trial-and-error over the years, I've tweaked these treats to perfection—tender centers with slightly crunchy edges that can handle decorating like champs. My little ones nicknamed them 'weekend cookies' since that's our time to break out the colorful sprinkles and turn the kitchen into decoration central!
The Secret Behind Their Charm
You've probably tried those pretty sugar cookies that taste like nothing special? Well, these aren't those! I spent forever adjusting this formula until everything clicked. They've got this amazing soft-but-not-crumbly feel, and they actually taste fantastic! The dough is also super flexible, which comes in handy when my kids get a bit too excited with the rolling pin.
The Building Blocks We Need
- Butter: Get it to room temperature first! Cold butter won't work if you want cookie success.
- Sugar: Plain granulated sugar does wonders when mixed with butter.
- Egg: One big egg, not cold from the fridge.
- Vanilla Extract: Real vanilla creates such better flavor! Sometimes I add a dash of almond extract when I'm feeling fancy.
- Flour: Standard all-purpose flour measured with care—this really matters!
- Baking Powder: Just a bit to help them rise slightly.
- Salt: Never leave this out! It brings all flavors alive.
Creating Cookie Perfection
- The Starter Mix
- Begin by blending your butter and sugar until it gets airy and light. I set a 3-minute timer because I used to always cut this short. When you mix in your egg and vanilla, you'll see it transform into this beautiful silky batter.
- Smart Rolling Trick
- Here's my brilliant shortcut: roll your dough FIRST, then chill it! Cut it in half, roll between parchment (keeping your kitchen clean!), then stick these flat sheets in the fridge.
- Patience Pays Off
- I know you want to skip the chilling step, but don't! Watch some TV or clean up your workspace while waiting—you'll thank yourself later!
- Baking Time
- When your dough feels nice and firm, go crazy with cookie cutters! I keep unused dough cold between batches for the best outcome.
Frosting Choices For Everyone
- Royal Icing Techniques
- This is what I use for fancy cookies. It takes some practice, but you'll soon feel like a pro! I grab meringue powder because it's way simpler than working with raw eggs.
- Simple Kid-Friendly Coating
- When baking with little helpers, we make this basic version. Mix powdered sugar, milk and vanilla for fun decorating without complications!
- Creamy Buttercream Option
- Sometimes you just need that thick, smooth frosting. It's perfect when you care more about taste than getting picture-perfect results.
Tricks I've Learned
After countless batches of these cookies, I've picked up some wisdom! Using parchment paper for rolling changed everything—no more flour scattered everywhere! I also bought a rolling pin with thickness guides which makes every cookie even. And don't skip chilling the dough. I found that out when my adorable snowmen turned into strange blobs!
Storage Secrets
These treats stay good about 5 days in a sealed container—if they stick around that long! In my house, they usually vanish within two days. The baked cookies freeze really well too. I often make twice as many and save some for those moments when you desperately need a cookie fix—yes, that's definitely a real emergency!
Fun Variations
I like playing around with different flavors sometimes. A little maple extract in autumn tastes amazing! Last December, I tried chocolate versions by switching some flour for cocoa powder—they disappeared instantly. My daughter always wants extra sprinkles in the dough because according to her logic, more sparkle makes everything better!
What Makes Them So Reliable
The best thing about these cookies is how consistent they are. Whether you're new to baking or do it all the time, they'll come out great. They're my go-to for school fundraisers, family gatherings, or just random Tuesdays when cookie cravings hit. Seeing everyone smile after taking a bite makes all the effort worthwhile!
Kitchen Tools You'll Want
- My Reliable Mixer: Either handheld or stand mixer works great for getting that fluffy butter-sugar combo.
- Quality Rolling Pin: I invested in one with adjustable bands and can't believe I waited so long!
- Baking Mats: These cut down on waste and make moving cookies super easy.
- Fun Cookie Cutters: I might have gone overboard collecting these over the years...
- Decorating Tips: That small #4 Wilton tip is my favorite for detailed cookie work.
- Good Color Options: Gel colors cost more than drops but give much brighter results.
Questions People Ask
Folks always wonder about the same things! Can you skip the chilling time? Nope, unless you want flat, spread-out cookies! How thick should you roll them? About pencil thickness works best. And yes, they work with gluten-free flour! Just use a good one-to-one substitute—my friend next door makes them this way with great results.
Decorating Fun For Everyone
This is where everything gets exciting! These cookies work like blank canvases waiting for your ideas. Whether you're making detailed patterns or just slapping on some buttercream with kids, they hold up great. Some of our nicest family moments involve sprinkles scattered across the counter and slightly weird-looking but totally delicious finished treats!
 Pin it
Frequently Asked Questions
- → Why chill the dough?
Cold dough makes cutting shapes cleaner and stops cookies from spreading in the oven. Plus, it's easier to handle when chilled.
- → Can this dough be prepped early?
Absolutely. You can refrigerate it for two days or freeze it for three months. Thaw overnight in the fridge, then let it warm slightly before rolling.
- → How do the cookies stay so soft?
Using butter, accurate flour amounts, and watching baking time keeps them soft. Pull them out when the edges just start to turn golden.
- → Why include almond extract?
This adds a rich, nutty flavor to the cookies, but it's optional. Adjust the amount to suit your taste or swap with another extract.
- → How thick should I roll it?
Keep it at a 1/4-inch thickness. This gives you a cookie that's soft in the middle and crisp around the edges, baking evenly every time.
Conclusion
These soft and sturdy sugar cookies are smooth for decorating. Their crisp edges and tender centers make them a festive treat for events and holidays.