
 Pin it
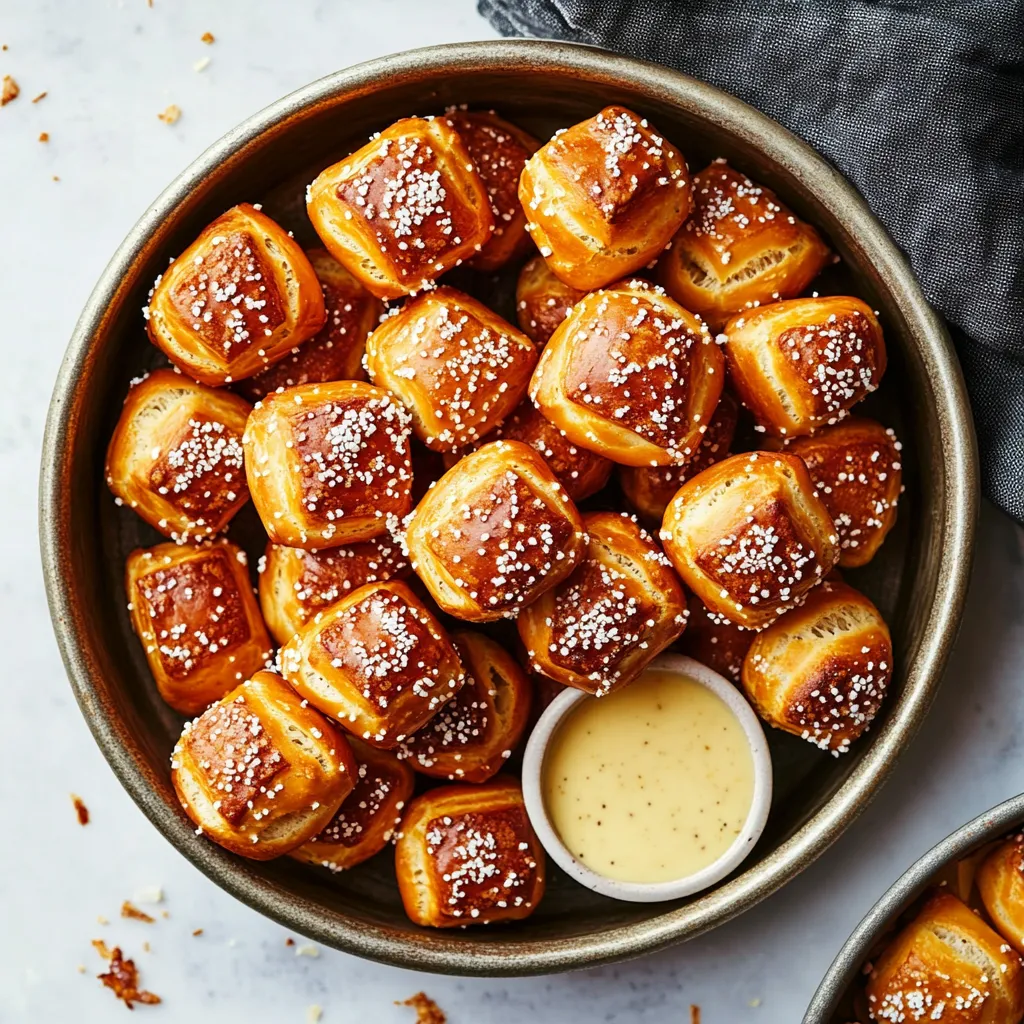
The kitchen fills with this amazing smell when you bake pretzels from scratch. I've tried this pretzel bites method so many times, and now I can share how to make these tiny golden treats that taste just as good as the big ones. The great thing? You won't need special tools - just your hands and stuff you probably already have in your kitchen.
I made a batch for friends watching the game last week and they were all gone before the second quarter! What makes them special is dunking them in that baking soda water that gives them their unique taste and texture.
Complete Ingredients Breakdown
- Milk: Grab whole milk for softness, but water can work in a pinch
- Active dry yeast: Always check it hasn't expired!
- Brown sugar: Gives a hint of sweetness and feeds the yeast
- All-purpose flour: Makes the texture just right
- Butter: Use plenty - it's what makes them taste amazing
- Baking soda: You really do need all 1/3 cup for that proper crust
Easy Creation Process
- Step 1:
- Get the yeast going properly: Warm milk to 110-115°F (any hotter will kill it). You should see foam bubbles within 5 minutes. No foam means start over with new yeast. Getting this temperature right matters a lot.
- Step 2:
- Work the dough correctly: Combine everything until barely mixed. Then knead softly but thoroughly for 4 minutes. You want it smooth and stretchy. The dough should feel a bit tacky but not stick to your fingers. Add more flour slowly if needed.
- Step 3:
- Let it rise in the right way: Put it in a clean, oiled bowl. Cover with a damp cloth instead of plastic. Find a warm spot without drafts. Wait for it to double up. Don't rush - it'll mess up the texture.
- Step 4:
- Shape them with care: Cut dough into even pieces. Roll each into long ropes. Chop into one-inch chunks. Try to keep them all the same size for even cooking. Keep everything covered while you work so it doesn't dry out.
 Pin it
The Essential Baking Soda Trick
Getting this part right matters: Keep the water bubbling steadily. Don't do too many at once. A spider tool makes handling easier. Time it exactly - just 30 seconds. They'll look slightly puffy when ready.
My first try looked just like regular rolls because I skipped the baking soda step. Now I love watching them turn that beautiful golden color in the solution.
Tasty Twists and Serving Suggestions
After making these for countless family get-togethers, I've found some amazing combinations:
Delicious Dipping Options
Try beer cheese for that classic taste. Mix some hot mustard with honey. Warm up marinara if you want pizza vibes. Brush with garlic butter for extra flavor. Whip up some herb cream cheese dip.
Putting Your Stamp On It
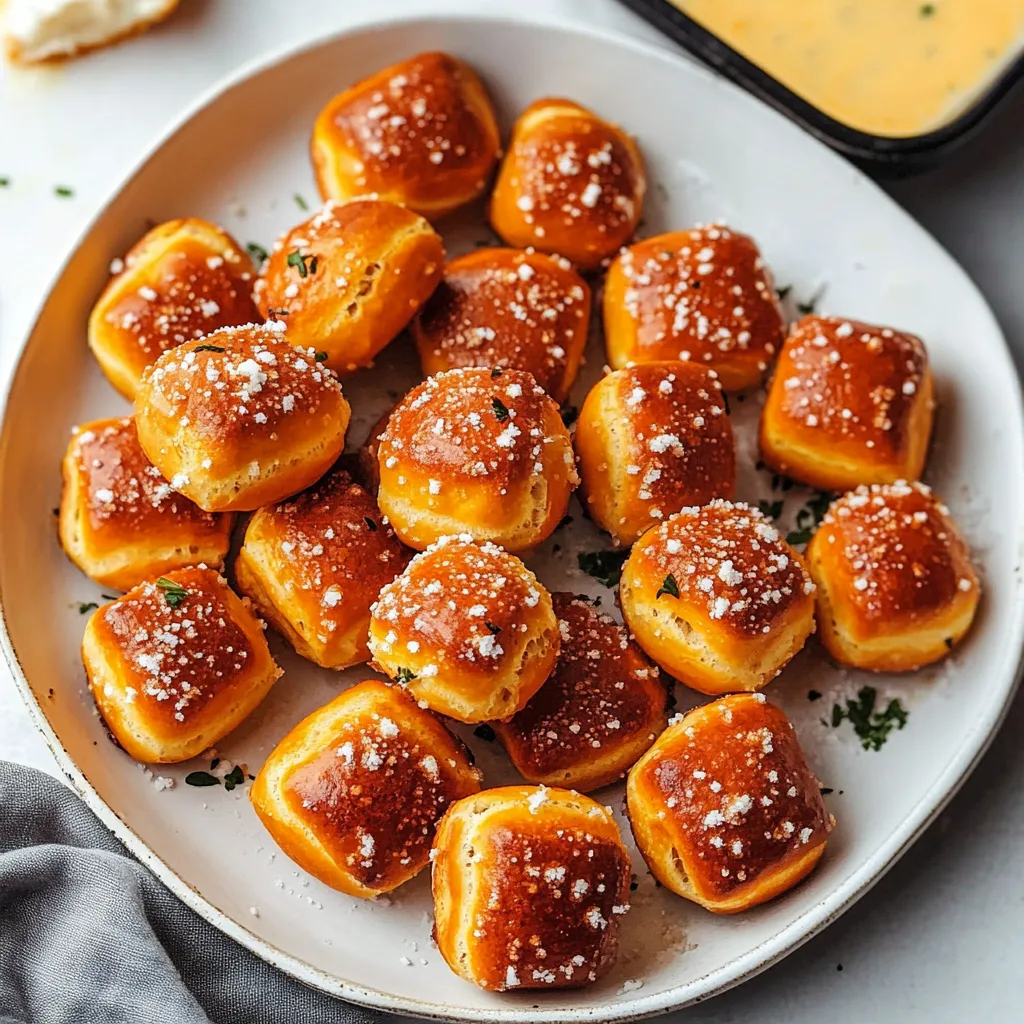
Try these different toppings: Everything bagel mix for a breakfast feel. Sugar and cinnamon if you want something sweet. Sprinkle with Parmesan and Italian herbs. Add jalapeños and cheddar chunks. Mix rosemary with sea salt.
Keeping Them Fresh
Though they're best right away, you can: Keep in a sealed container up to a day. Warm them up in the oven for 5 minutes. Freeze them uncooked after shaping. Let frozen ones thaw overnight before boiling. Store baked pretzels in the freezer up to 2 months.
Crowd-Pleasing Tricks
Get the dough ready and keep it in the fridge. Let guests choose their own toppings. Use a low-temp oven to keep them warm. Make your dips ahead of time. Think about making twice as much - they won't last long!
 Pin it
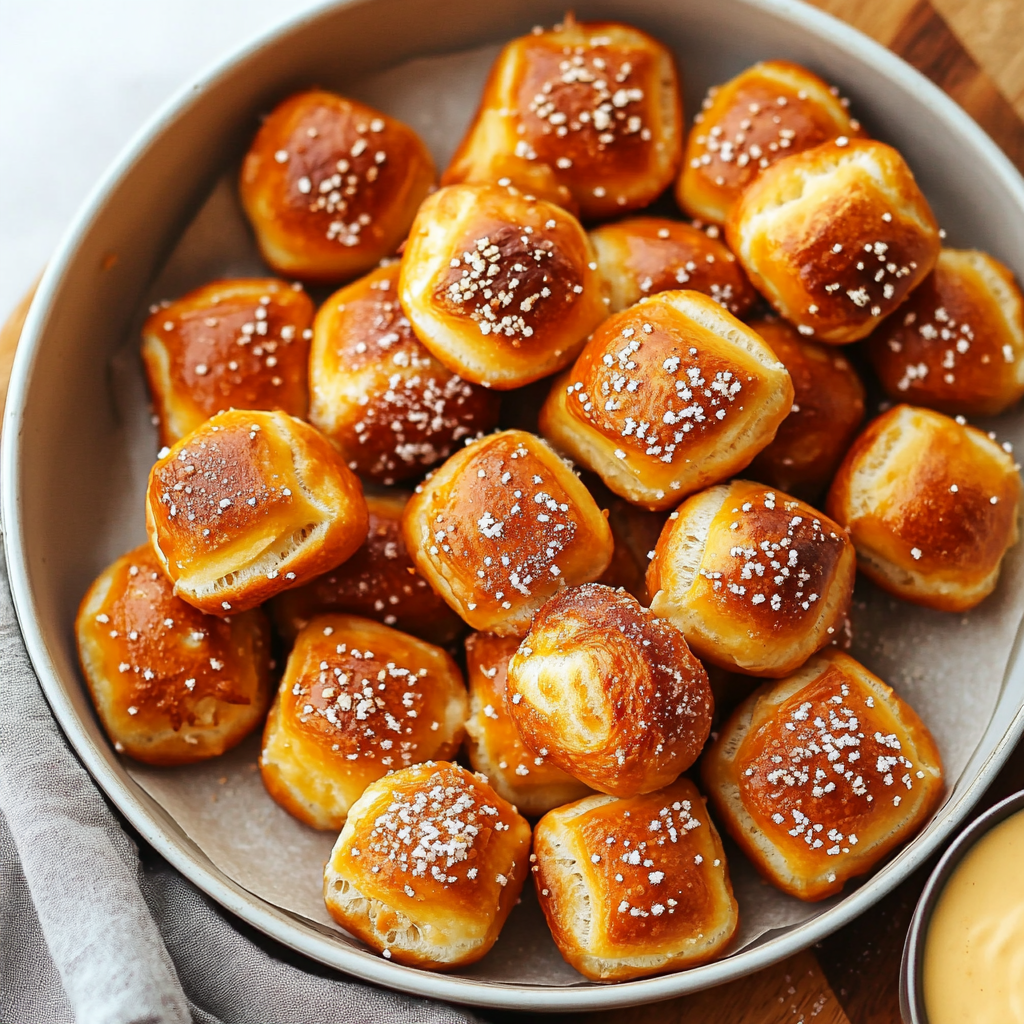
I now make these pretzel bites for everything from sports parties to afternoon snacks. Taking out a perfectly golden batch from the oven always feels special, and seeing how happy they make people makes it all worthwhile.
Frequently Asked Questions
- → What does the baking soda soak do?
- It gives pretzels their classic flavor and creates a chewy outside layer.
- → Can I prepare these in advance?
- They're best fresh, but freeze unbaked bites for later use.
- → Why should I use an egg wash?
- An egg coating helps the pretzels turn golden and shiny once baked.
- → Can I switch up the toppings?
- Absolutely! Try cinnamon sugar, cheese seasoning, or garlic butter.
- → Why is liquid temperature important?
- Make sure it’s warm (110–115°F) so the yeast activates, but doesn’t die.