
 Pin it
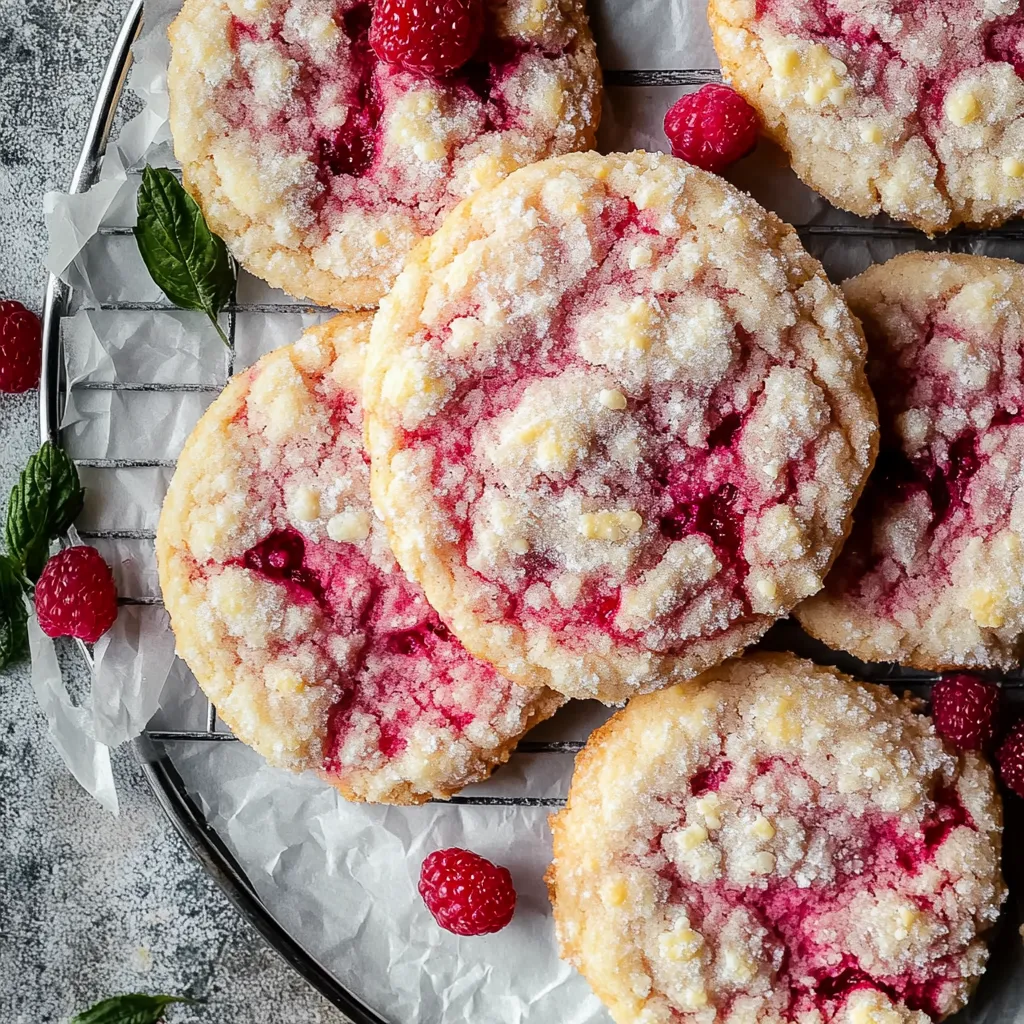
Experience the delightful mix of sugary sweetness and tangy zing in these cloud-soft raspberry sugar cookies. Whipped up without eggs and tweakable for different diet needs, these gorgeous pink goodies use actual frozen raspberries for genuine fruit flavor that makes them stand out from run-of-the-mill sugar cookies.
I came up with these cookies for my niece's party, where many kids couldn't eat certain foods. Seeing their happy smiles when they found out they could munch on these pretty cookies just like everyone else made all my kitchen tests totally worth it!
Key Ingredient Picks
- Frozen Raspberries: Go for vivid red, separately frozen berries without icy bits for top-notch taste
- Gluten-Free Flour: Pick a 1:1 mix with xanthan gum added for good cookie structure
- Butter/Vegan Sticks: Need to be soft at room temp for proper mixing - don't rush this!
- Cornstarch: Our hidden trick for super tender cookies; it's a must-have
- Granulated Sugar: Stick with true cane sugar for best results and even browning
Baking Flawless Cookies
- Get Your Basics Ready:
- Start by cooking up raspberry syrup - take your time for richer flavor. Let all items sit at room temp for better blending. Scoop flour into measuring cups and level off for right amounts.
- Blend Your Mix:
- Beat butter and sugar until truly airy and puffy. Pour in wet stuff bit by bit so it mixes in nicely. Gently fold those frozen berries with minimal stirring so the color doesn't run.
- Form and Cook:
- Try a cookie scoop for same-sized treats that bake at the same rate. Give them a sugar coat for that classic twinkle and bite. Keep an eye on them while baking - just want the edges firm.
- Final Touches:
- Round them out while they're hot for perfect circles. Let them cool enough for best texture. Pack them right to keep their softness.
 Pin it
When I was a kid baking with my grandma, she always told me that taking your time makes the best cookies. This recipe shows she was spot on - each step from simmering the syrup to cooling the dough builds up more yummy flavor.
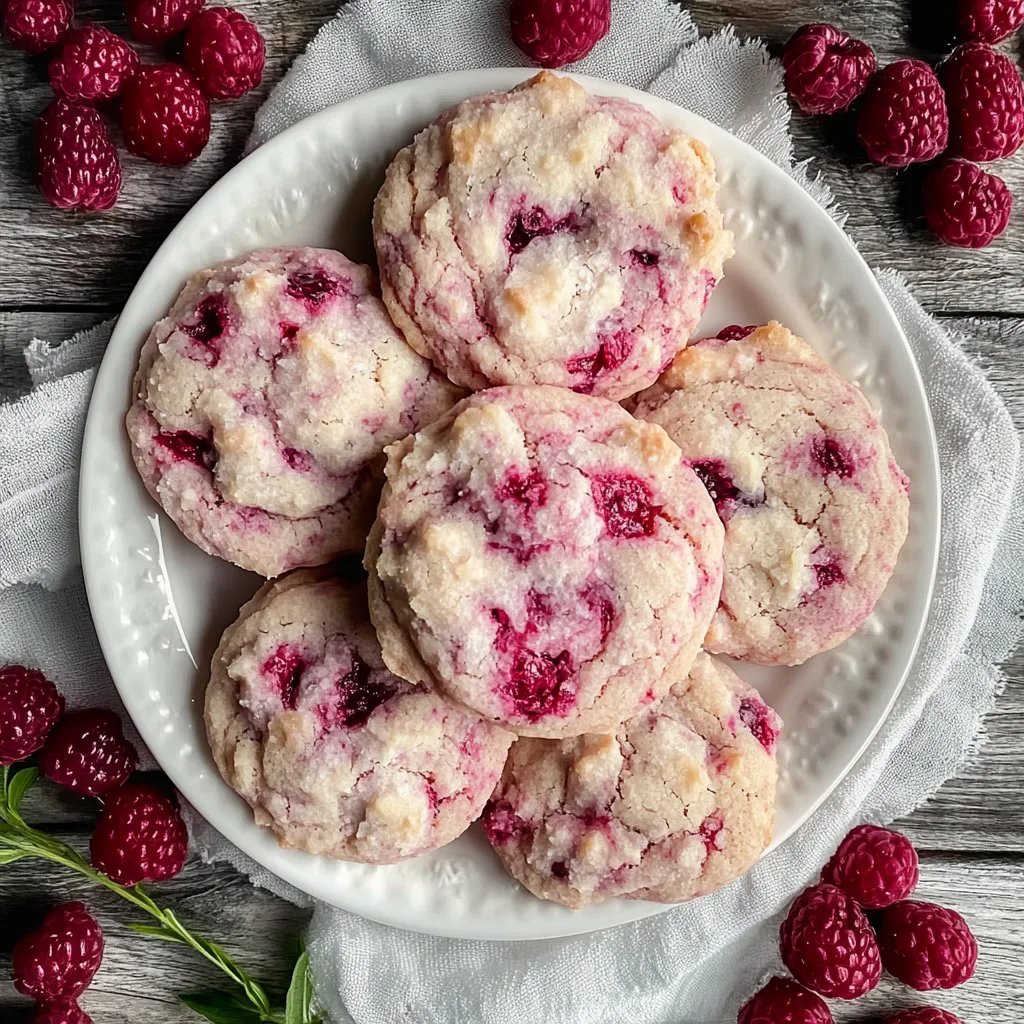
I'm always shocked at how flexible these cookies are. I've baked them for outdoor summer parties, Christmas gatherings, and everything in between. They're a huge hit at bridal events where their pink color fits right in with the theme.
These have become what I'm known for at our local cookie swap. Their standout color and taste always catch attention among the usual chocolate chips and snickerdoodles.
When I help new bakers learn the ropes, this recipe works great for showing them how to handle gluten-free flours and egg substitutes. It's pretty forgiving but still gives you pro-level results.
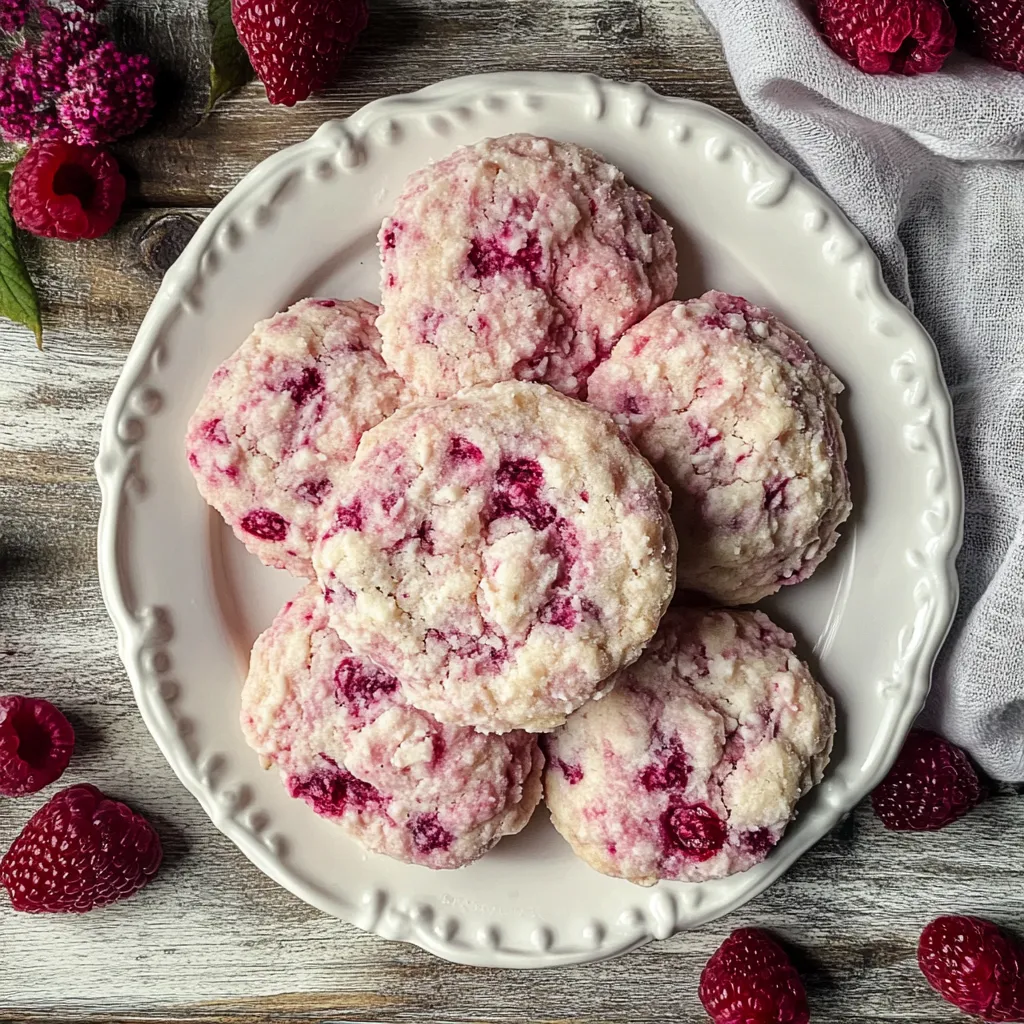
While their pink look makes them perfect for February 14th, their fruity kick and pillow-soft feel make them a cookie jar staple all year long at our place.
 Pin it
After making these countless times, these cookies still show that food restrictions don't mean you can't have amazing taste and texture. They've brought smiles to tons of celebrations, proving that baking for everyone can be both super tasty and really pretty.
Frequently Asked Questions
- → Can I swap in regular flour?
- Sure! Use 2 firmly packed cups (336g) of all-purpose flour, but don't skip the chilling step.
- → Why chill or freeze the dough?
- It stops the cookies from spreading too much and helps them hold their shape while baking.
- → Is there a vegan version?
- Yes! Just switch to vegan butter, dairy-free milk, vegan sugar, and plant-based coloring.
- → How should I store these cookies?
- Keep them in an airtight container in your fridge for 3 days, or freeze the dough for up to 30 days.
- → Do I need extra coloring?
- Not at all! The raspberries do the work. It might not be as vibrant, but it's natural and lovely.