
 Pin it
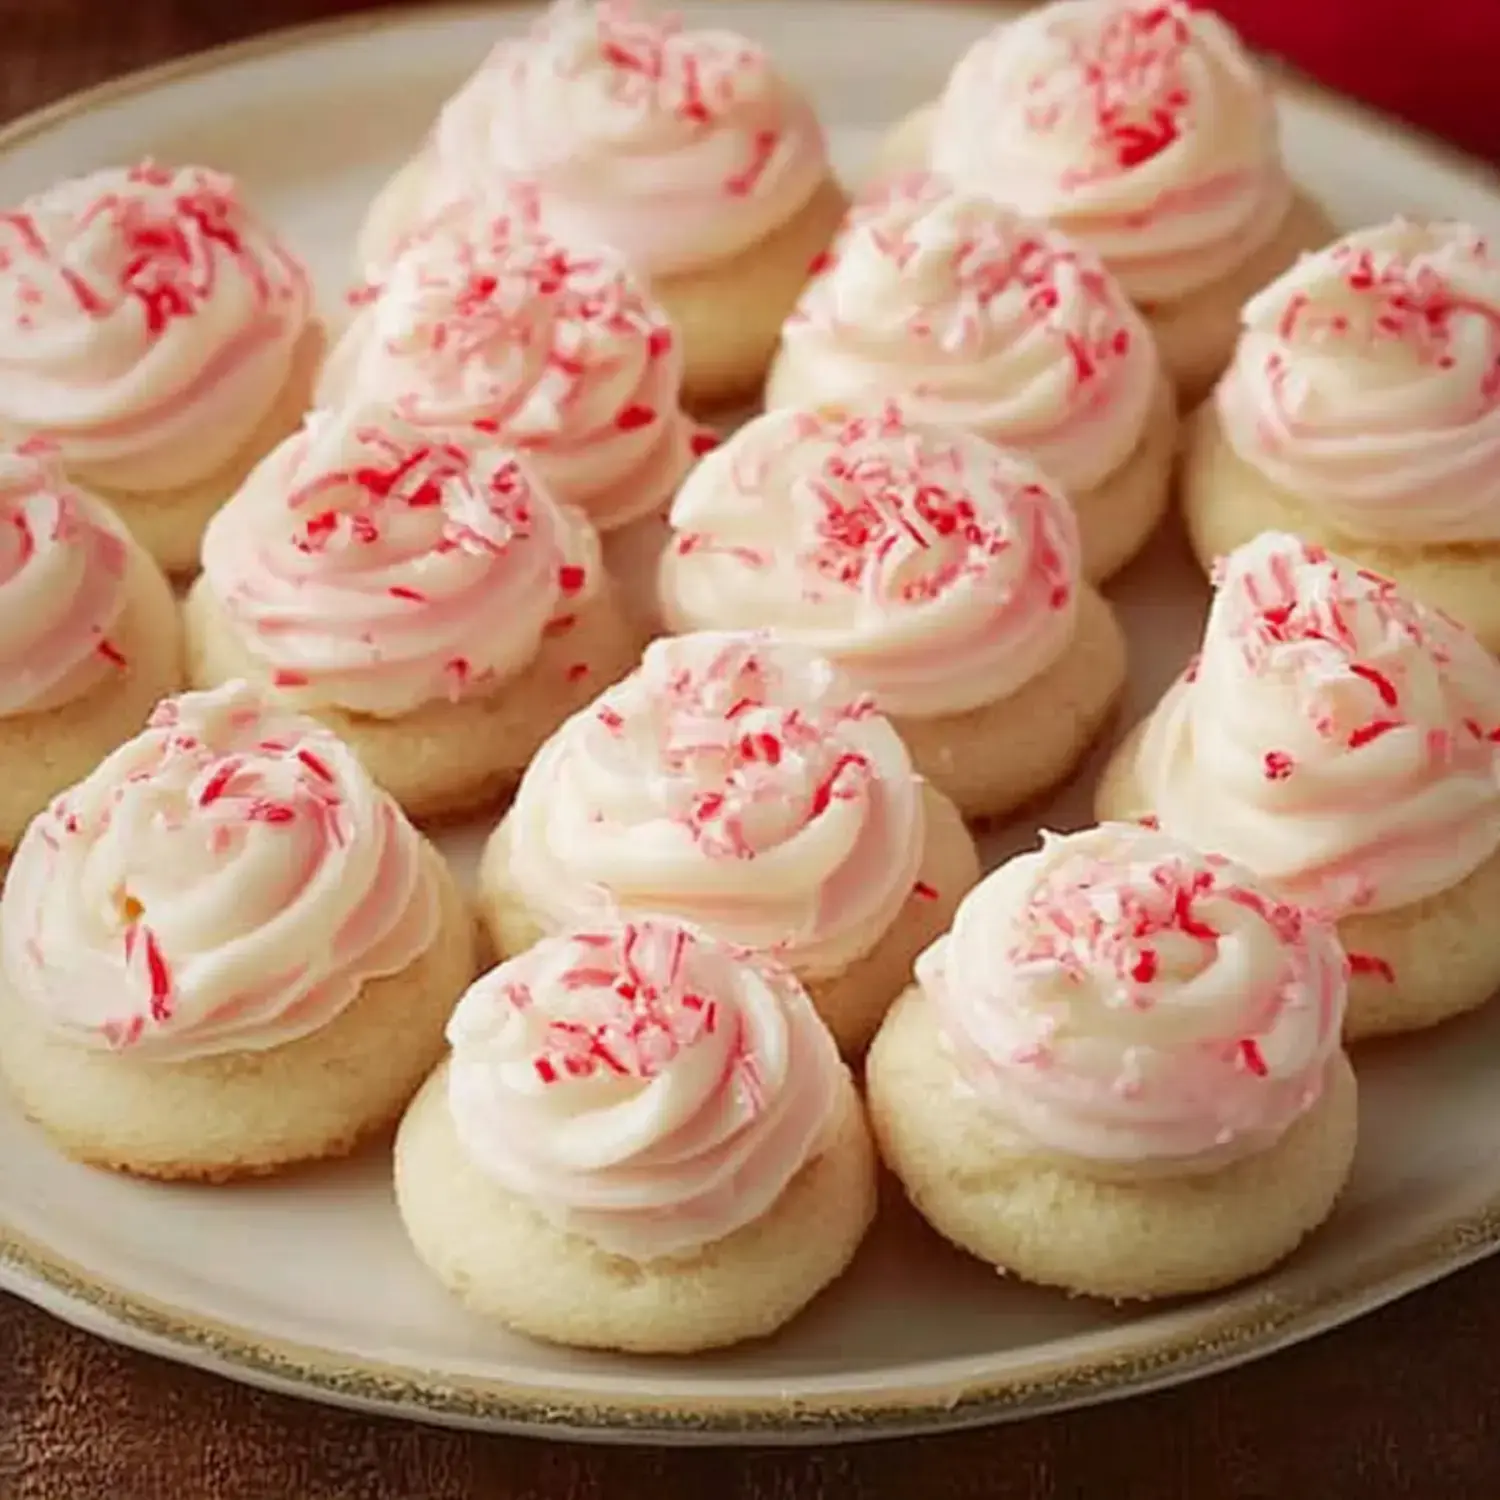
During the festive season, these Peppermint Meltaways transform my kitchen into something special. They crumble softly in your mouth while the peppermint frosting and smashed candy bits on top make each bite feel like Christmas. The minty smell wafting through my house always takes me back to holiday memories and traditional candy canes.
What You'll Need
- Cornstarch: This gives them that signature dissolve-on-your-tongue texture.
- Flour: I always run it through a sifter for extra lightness.
- Peppermint Extract: A little goes a long way for that winter flavor.
- Confectioners' Sugar: The key to making these treats super soft.
- Butter: I pick unsalted so I can manage the taste myself.
- Crushed Peppermints: They bring both shimmer and bite.
- Confectioners' Sugar: This makes your topping incredibly velvety.
- More Peppermint: It really pumps up that seasonal taste.
- Milk: Just a tiny bit for the right frosting texture.
- More Butter: Whipped up for that dreamy topping.
Baking Basics
- Combine Dry Ingredients
- Mix the flour and cornstarch together, then fold them carefully into your wet mixture until you've got a nice soft dough.
- Chill and Shape
- Let the dough cool in your fridge a bit, then roll it into small one-inch balls ready for the oven.
- Mix the Dough
- Beat the butter and sugar together until they're fluffy, about 3 to 4 minutes. Then add a smidge of peppermint extract for that classic holiday taste.
Baking Time
- Cooling Time
- After baking, let them sit on the hot tray for a minute or two, then move them to a rack until they're completely cool.
- Bake the Cookies
- Get your oven hot at 350°F and pop those chilled dough balls in for about 9 to 11 minutes until they're just turning golden on the bottom.
Finishing Touches
- Frost and Decorate
- Slather that yummy frosting over each cookie once they've cooled and sprinkle with crushed peppermint for some holiday magic.
- Make the Frosting
- Beat the butter until it's really fluffy, then gradually mix in milk, peppermint extract, and powdered sugar until smooth. You can add a tiny bit of pink coloring if you want them extra festive.
Personal Twists
I've tried swapping the regular frosting for a thin glaze and played around with different flavor extracts too. Sometimes I'll cut them into cute shapes during Christmas, though I still love the classic round ones best. The candy bits on top aren't just for looks – they add an amazing crunch and extra mint flavor that makes these cookies special.
Storage Secrets
You can keep them tasting great in a sealed container for many days. I often bake the cookies early and save the frosting part for right before I serve them. If you're really planning ahead, the plain cookies can go in the freezer for up to three months – just wait to frost them after they've thawed out.
Pro Pointers
- Always bake extra batches because they'll vanish fast!
- Let the flavors blend by making cookies a day or two beforehand.
- Pop the dough in the fridge briefly for cookies that hold their shape better.
- Add sugar or milk bit by bit until your frosting spreads just right.
 Pin it
Frequently Asked Questions
- → Why do they melt in your mouth?
The dough's mix of cornstarch and butter makes these cookies ultra-soft and tender. To keep that texture, handle it gently.
- → Can I prep them early?
You can bake and freeze the plain cookies for up to three months. Add the frosting and crushed toppings right before serving to ensure freshness.
- → Why is chilling dough important?
Chilling sets the butter, making it easier to shape and minimizing spreading while baking for perfect cookies.
- → Can I switch out the extract?
Feel free to use almond or vanilla extract for a different twist, but peppermint is what really makes these festive.
- → What's the best way to store them?
Keep them in a sealed container where they'll stay fresh for about five days. Just note that the candy toppings might soften after a bit.