
 Pin it
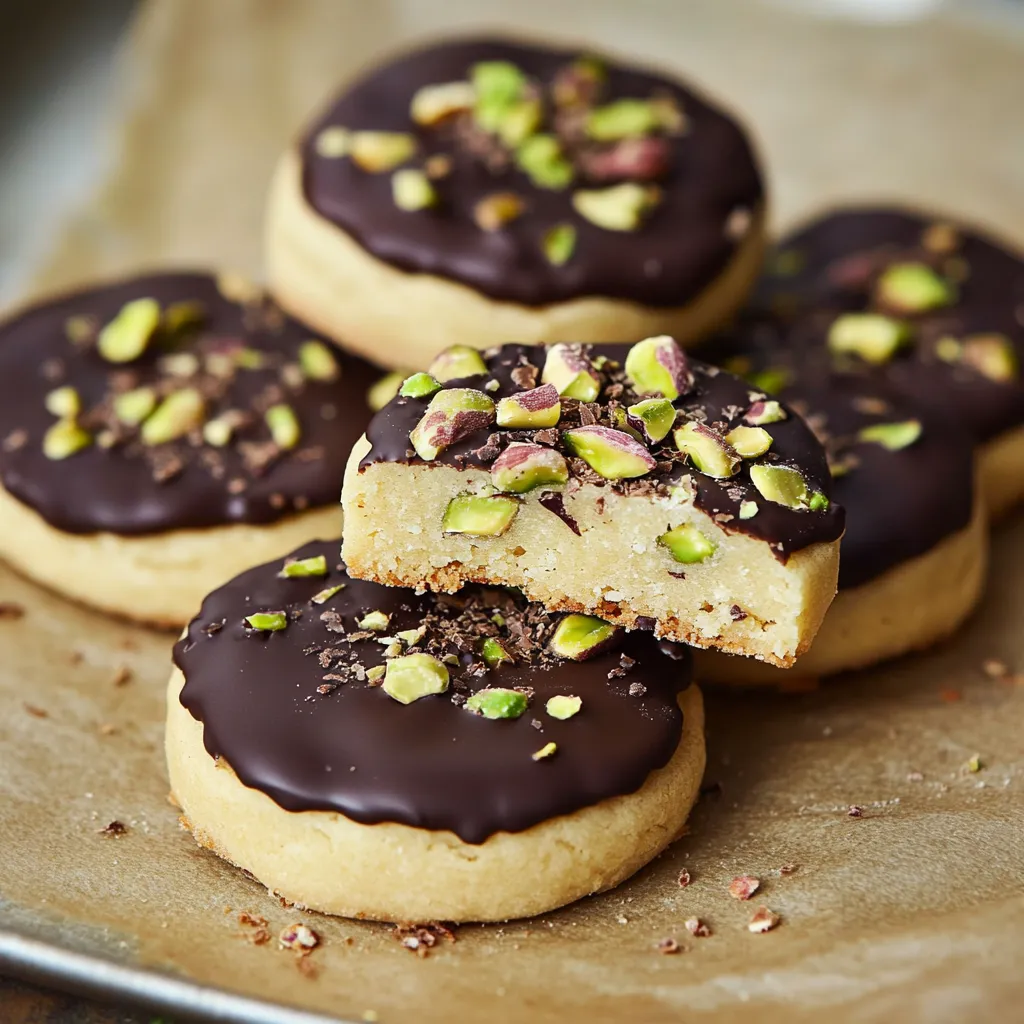
Mixing buttery shortbread with crunchy pistachios and smooth dark chocolate makes these stunning cookies look straight from a fancy bakery. After tweaking this countless times in my home kitchen, I can guarantee these treats are both easy to make and totally impressive.
This has turned into my go-to recipe during busy holiday baking. Even friends who barely cook have nailed these cookies, and everyone can't stop raving about them.
Key Ingredient Breakdown
- Butter: Should be premium quality, preferably European-style. Its extra fat helps create that wonderful melt-away texture
- All-purpose flour: Stick with this type only; the specific protein amount gives you the perfect crumb
- Granulated sugar: Smaller crystals blend more smoothly than chunky ones
- Pistachios: Go for plain, unsalted ones for the cleanest taste. Chopping by hand works better than a processor
- Dark chocolate: Pick something with at least 70% cocoa for a grown-up flavor balance
Complete Preparation Guide
- Making The Base:
- Set butter out for an hour to soften naturally. Beat it by itself first until smooth and creamy. Slowly add sugar while mixing at medium. Wipe down bowl sides often for better blending. Keep going until it looks light and somewhat fluffy, roughly 3 minutes.
- Adding Dry Parts:
- Run flour through a sifter to break up clumps. Mix it in three batches, stirring gently between each. Stop once dough forms. Don't mix too much or cookies will get tough.
- Forming The Log:
- Turn dough onto clean counter. Shape it roughly into a log with your hands. Roll carefully to make it even all around. Wrap snugly in plastic, twist the ends closed. Cool until totally firm.
- Cutting Method:
- Let dough sit out 5 minutes after taking from fridge. Use a really sharp knife for clean cuts. Turn log a quarter after each slice. Fix shape if needed after cutting.
- Baking Tips:
- Leave an inch between cookies on room-temp baking sheets. Only use middle rack when baking. Keep an eye on the edges for golden color. Let sit on sheets for 5 minutes after baking.
 Pin it
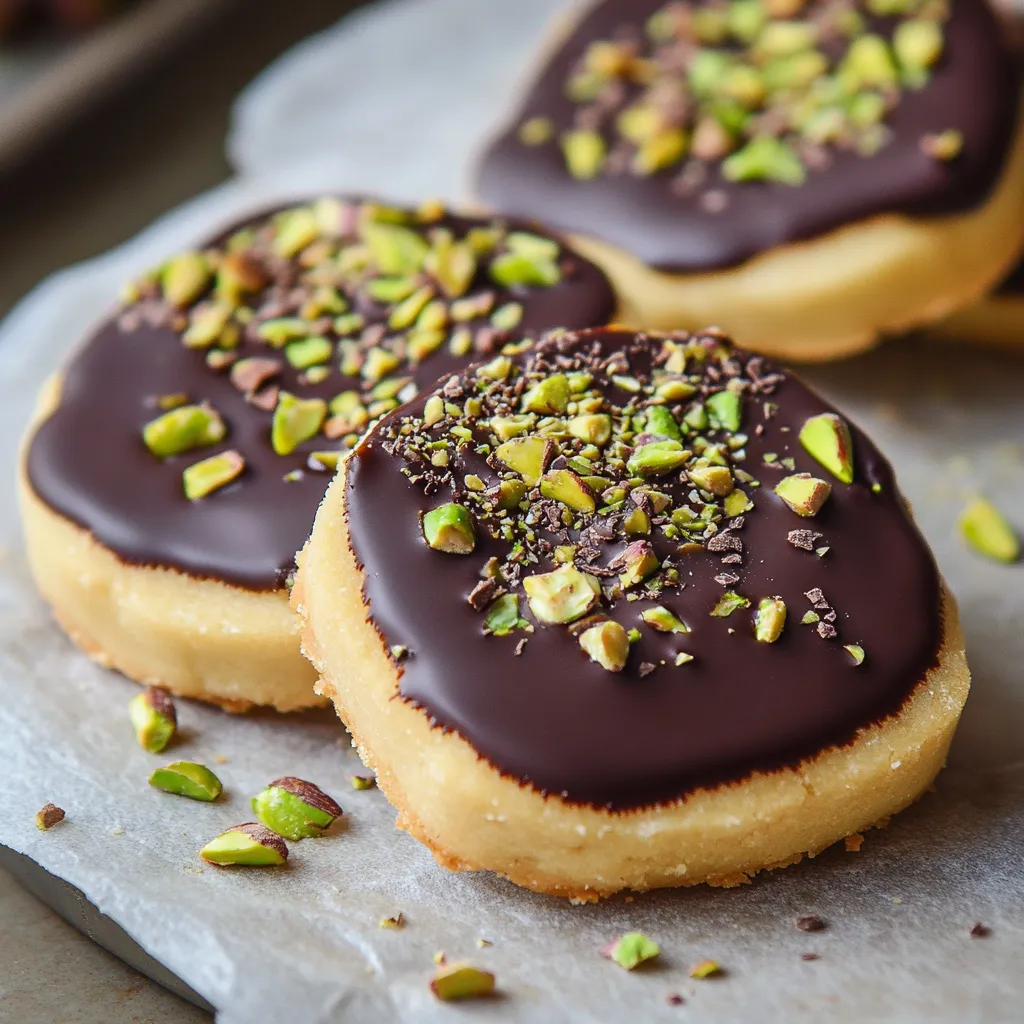
Flawless Chocolate Finish
For shiny chocolate coating, you need good tempering. I've discovered that tossing a few pieces of solid chocolate into your melted batch while stirring gives you that perfect shine without any fancy methods.
Watching The Heat
Keeping dough at the right temperature really matters. After baking these for years, I've noticed that if your dough gets too warm at any point, your cookies won't keep their shape.
Smart Storage
These cookies actually taste better after sitting for a day, as the flavors blend together nicely. I keep mine in metal containers with paper between each layer.
 Pin it
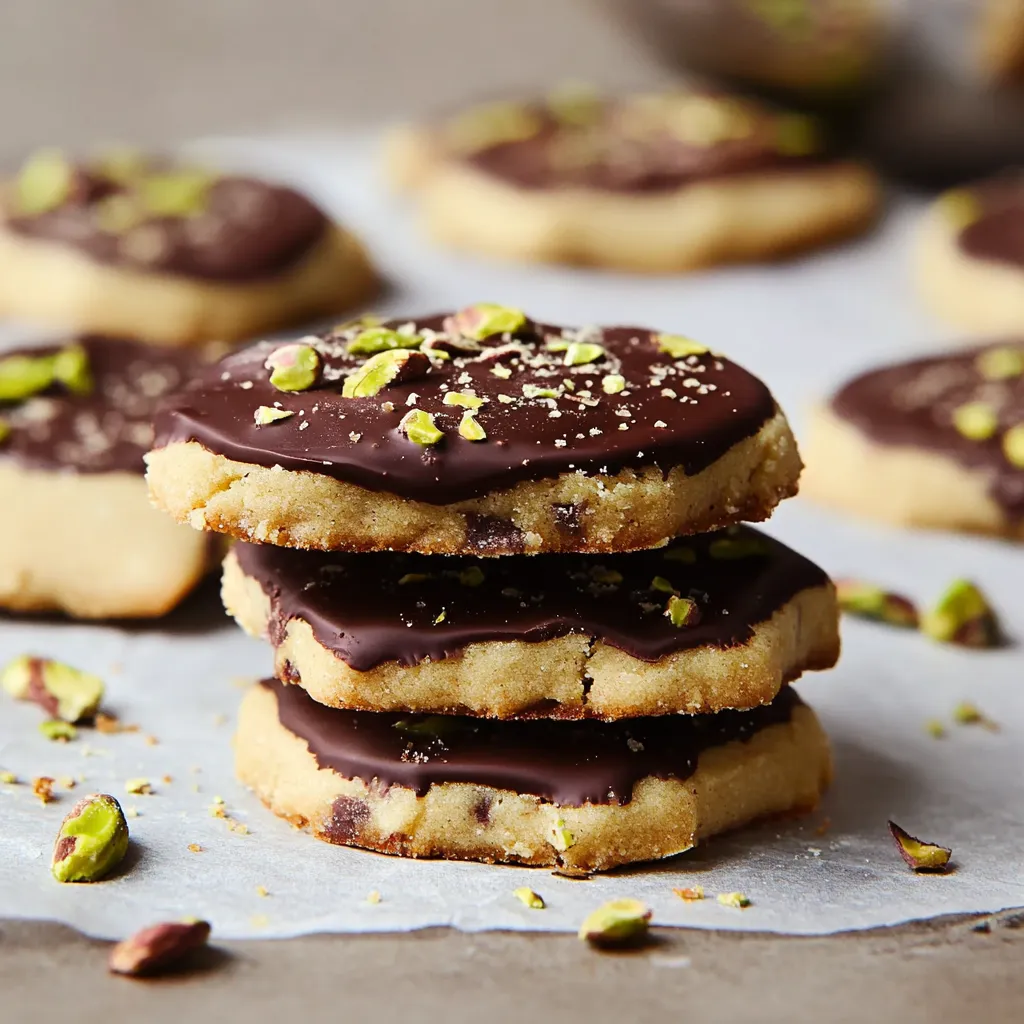
This recipe has become a staple in my cookie collection. The mix of buttery base, nutty bits, and rich chocolate creates something really special. Whether you're serving them with tea or giving them as presents, these cookies always wow everyone.
Frequently Asked Questions
- → Can I prep the dough in advance?
- Of course! You can keep it wrapped in the fridge for up to 3 days before baking.
- → Why avoid chocolate chips for dipping?
- Chips have additives that stop smooth melting. Use chocolate bars instead.
- → What's the best way to store them?
- You can keep them in a sealed container at room temperature for a week, or freeze for 3 months.
- → Can unsalted butter be used?
- Yes! Just add 1/4 teaspoon of salt if you're using unsalted butter.
- → How to tell when they're ready?
- Bake until the edges get slightly golden, which usually takes 12-18 minutes.