
 Pin it
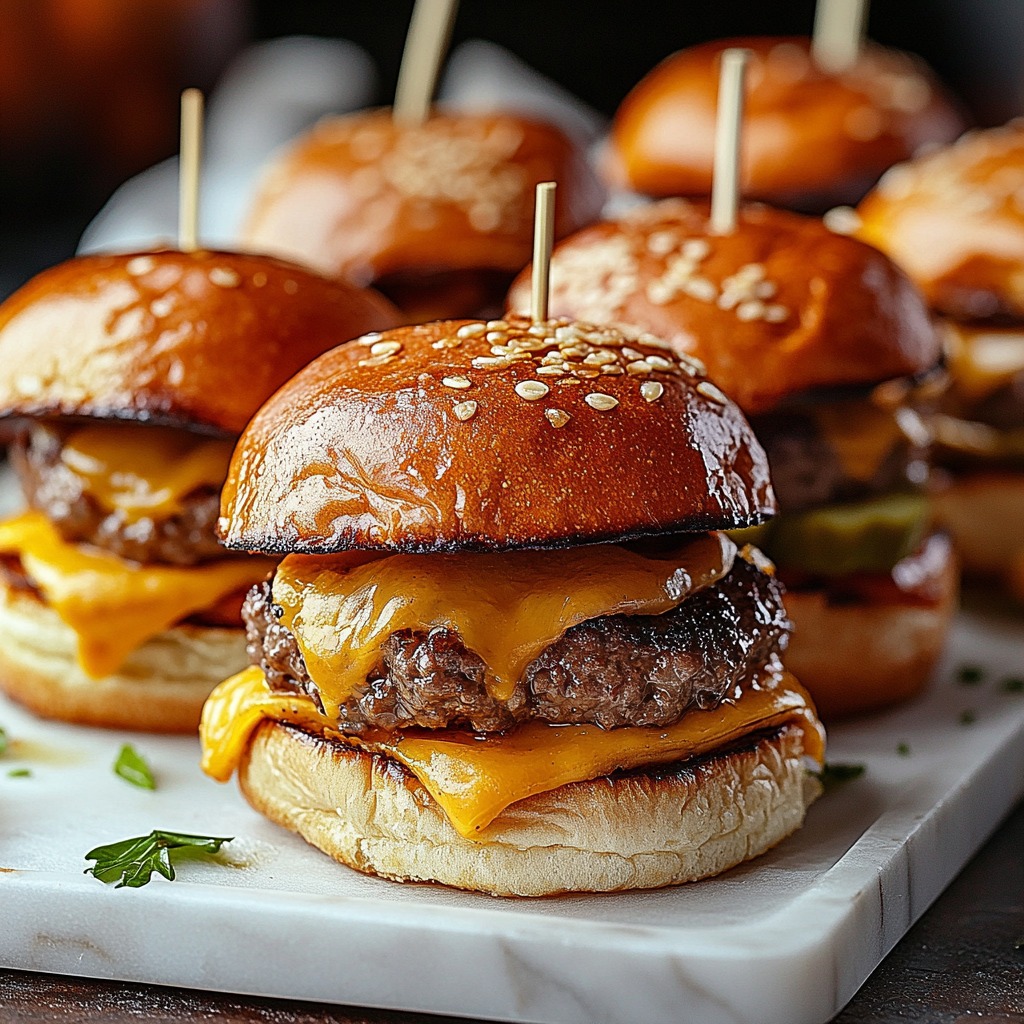
Take a bite into an ideally succulent mini burger, with gooey cheese blending with a unique sauce, all nestled in a warm, buttery bun. These Cheeseburger Sliders aren't just snacks - they're a game-changing hit that transforms any meetup into something special. Through countless attempts at getting this dish right, I've found that success comes down to specifics: everything from proper fat content to the mystery condiment that gets everyone asking what's in it.
This past weekend, I whipped these up for my kid's basketball squad celebration. I couldn't help but smile when I saw their reactions as I set down the hot tray of sliders, and they were all reaching for more within minutes. What made them so good? Taking care with meat seasoning and nailing that perfect cheese melt.
Essential Ingredients
- Ground beef (80/20 blend): This mix delivers ideal flavor with the right juiciness. Going leaner just won't cut it
- Hawaiian rolls: Their hint of sweetness balances the meaty flavor perfectly. I've sampled numerous alternatives but keep coming back to these
- Sharp cheddar cheese: It liquefies wonderfully and brings just enough zip. Store-bought slices work fine, but hand-grated creates superior melting
- Fresh dill pickles: Their snap and tartness balance the richness. I chop them tiny for better distribution
- The mystery sauce components (mayo, ketchup, mustard): Combined, they make that signature fast-food taste we can't resist
Step-by-Step Cooking Guide
- Prepare the Meat:
- Mix ground beef with spices using light hand motions. Don't mix too much or you'll toughen the meat. Shape into 12 matching balls. Push each into a 2-inch flat circle with small depression in the middle.
- Cook the Patties:
- Warm skillet over medium-high heat. Cook patties in small groups, giving them space. Flip after 3-4 minutes for medium doneness. Top with cheese during final cooking minute.
- Prepare the Buns:
- Cut rolls across the middle, keeping them attached. Blend mayo, ketchup, and mustard for your secret sauce. Apply sauce to both cut sides. Add extra cheese layer on bottom roll section.
- Assembly Process:
- Set finished patties onto bottom buns. Sprinkle with chopped pickles and chosen extras. Place top buns over everything. Press lightly to help flavors blend.
- Final Baking:
- Cover loosely with foil. Heat at 375°F for 8-10 minutes. Take foil off during last 2 minutes for crispy tops.
 Pin it
Mastering the Ideal Patty
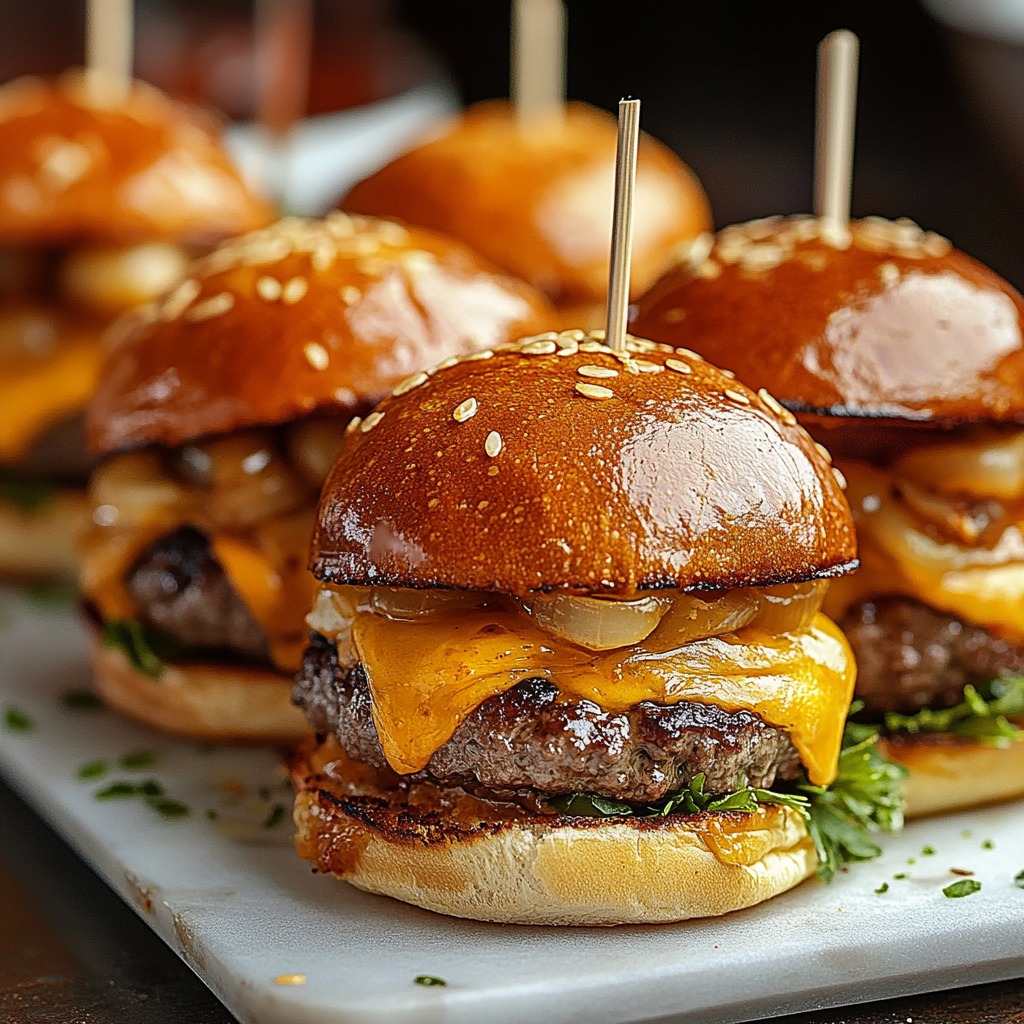
Getting those slider patties just right took me several attempts to figure out. I've found that roughly 1.3 ounces of beef per slider creates the best match with the rolls. A handy trick I picked up when I first started making these was to form them a bit wider than the buns since they'll contract while cooking. Now each slider has spot-on proportions, and everyone gets the full experience.
Heat Management is Key
My biggest breakthrough came when I started using my quick-read thermometer. Going for 160°F guarantees they're safe to eat while staying juicy inside. I've noticed pulling them off the heat at 155°F and giving them a moment lets residual cooking finish them perfectly.
Smart Stacking Strategy
Like putting together a mini tower, how you arrange your ingredients really counts. I begin with cheese on the bottom roll (it works as a moisture shield), followed by the patty, more cheese, pickles, and sauce. This setup ensures you'll taste everything in each mouthful.
Prep-Ahead Benefits
These sliders work great for parties because you can get most work done early. I typically shape the meat, mix up the sauce, and cut toppings in advance, keeping each in separate containers in the fridge. This makes putting everything together super quick when company shows up.
Feeding Bigger Groups
When cooking for extra people, I've found working with 24 sliders at once is manageable. Any more becomes tough to maintain even cooking and quality assembly. Creating a well-organized workstation with ingredients close at hand makes everything run smoothly and enjoyably.
Storing for Later
I was thrilled to discover how nicely these keep after being cooked completely. I cover each slider in its own foil wrap, then place them all in a freezer container. They warm up perfectly in about 20 minutes in a 350°F oven, making them fantastic for busy weeknight meals.
 Pin it
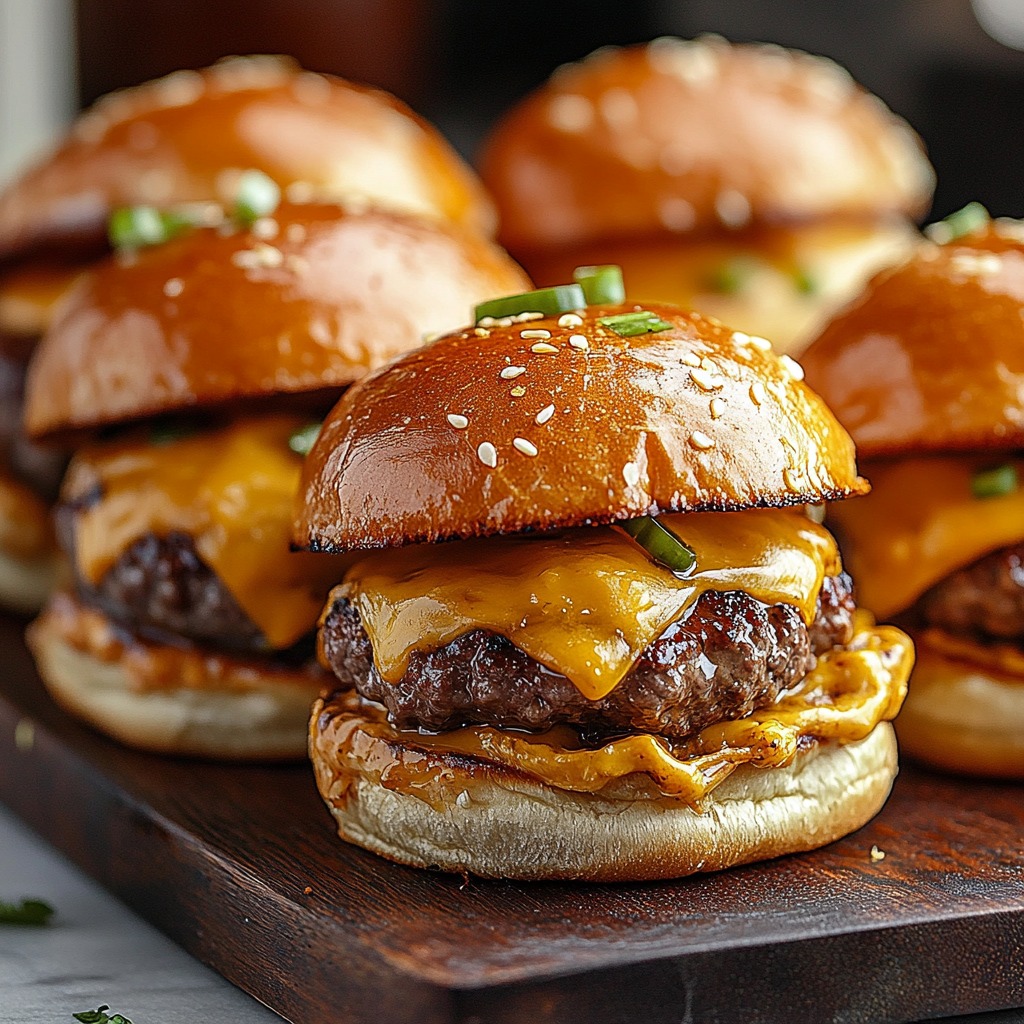
These cheeseburger sliders have become my favorite party dish, bringing joy and creating happy memories at countless gatherings. They show that tiny foods can pack massive flavor. Whether you're serving a team after practice or hosting friends for a casual hangout, these mini burgers always deliver. The mix of tender meat, melty cheese, and that signature sauce creates bite-sized burgers that taste like they're from your neighborhood diner.
Frequently Asked Questions
- → Can I prep the patties earlier?
- You sure can! Make and cook patties the day before, then warm them up when it’s slider time.
- → How do I keep them ready for serving?
- Just cover them with foil after baking to lock in the heat.
- → Can I freeze these for later?
- Absolutely! Freeze cooked patties, but put the sliders together fresh.
- → What other toppings could I use?
- Switch it up! Bacon, sautéed onions, or different cheeses work great.
- → Can they be done on a grill?
- Totally! Grill those patties and toast the buns right on the grill.