 Pin it
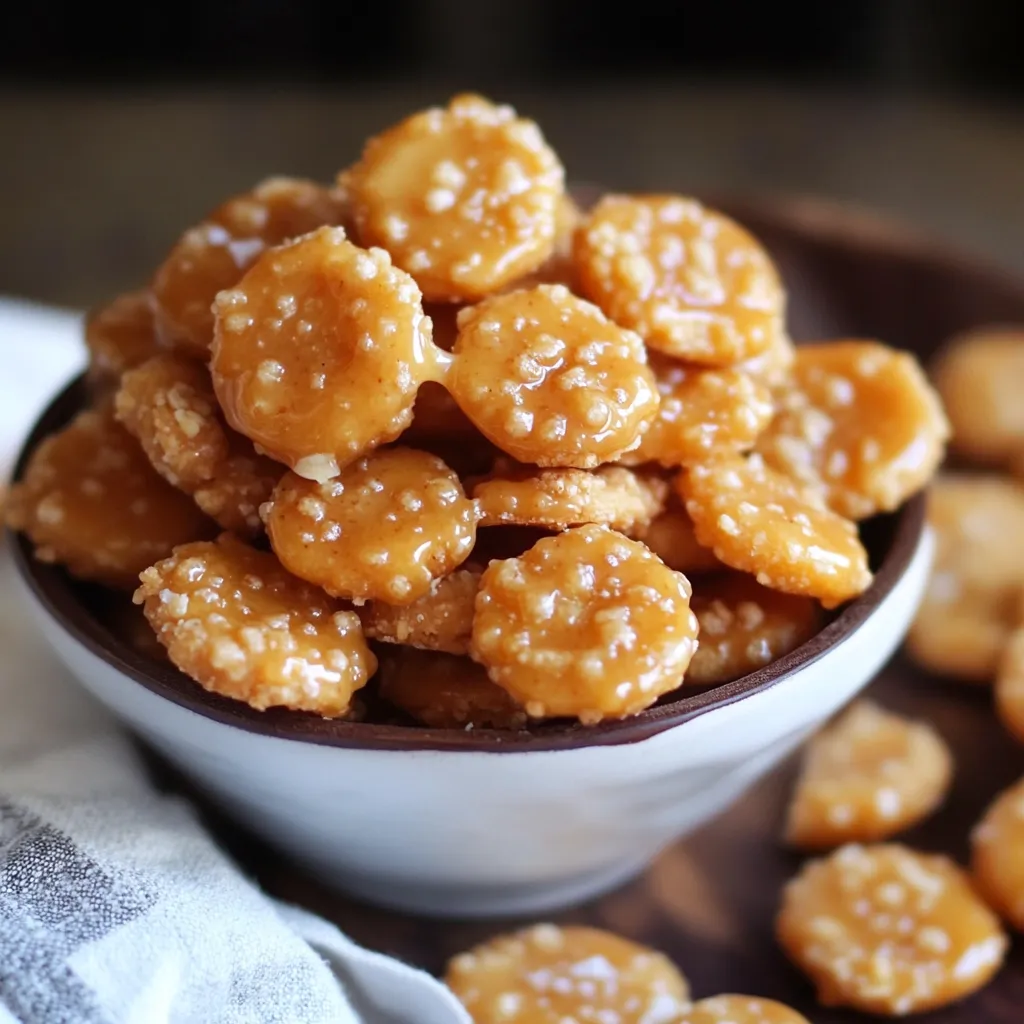
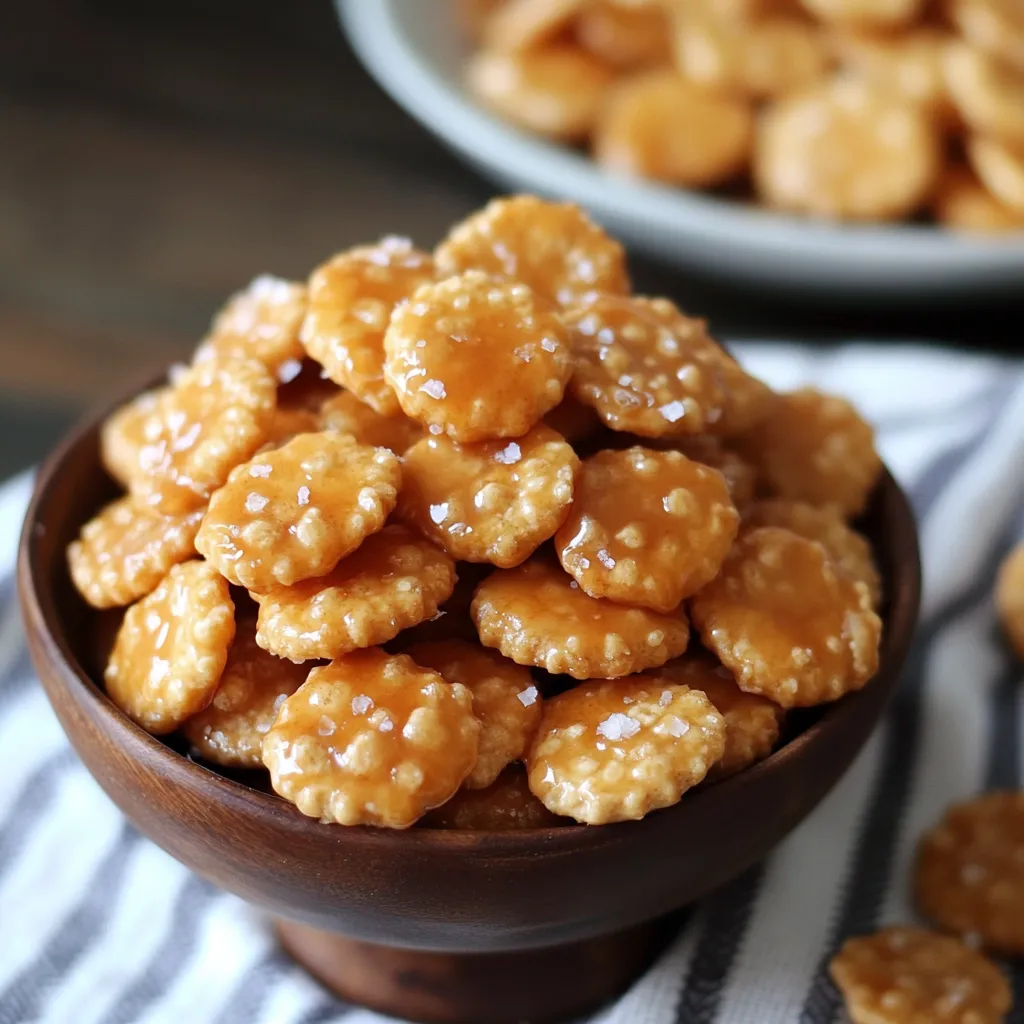
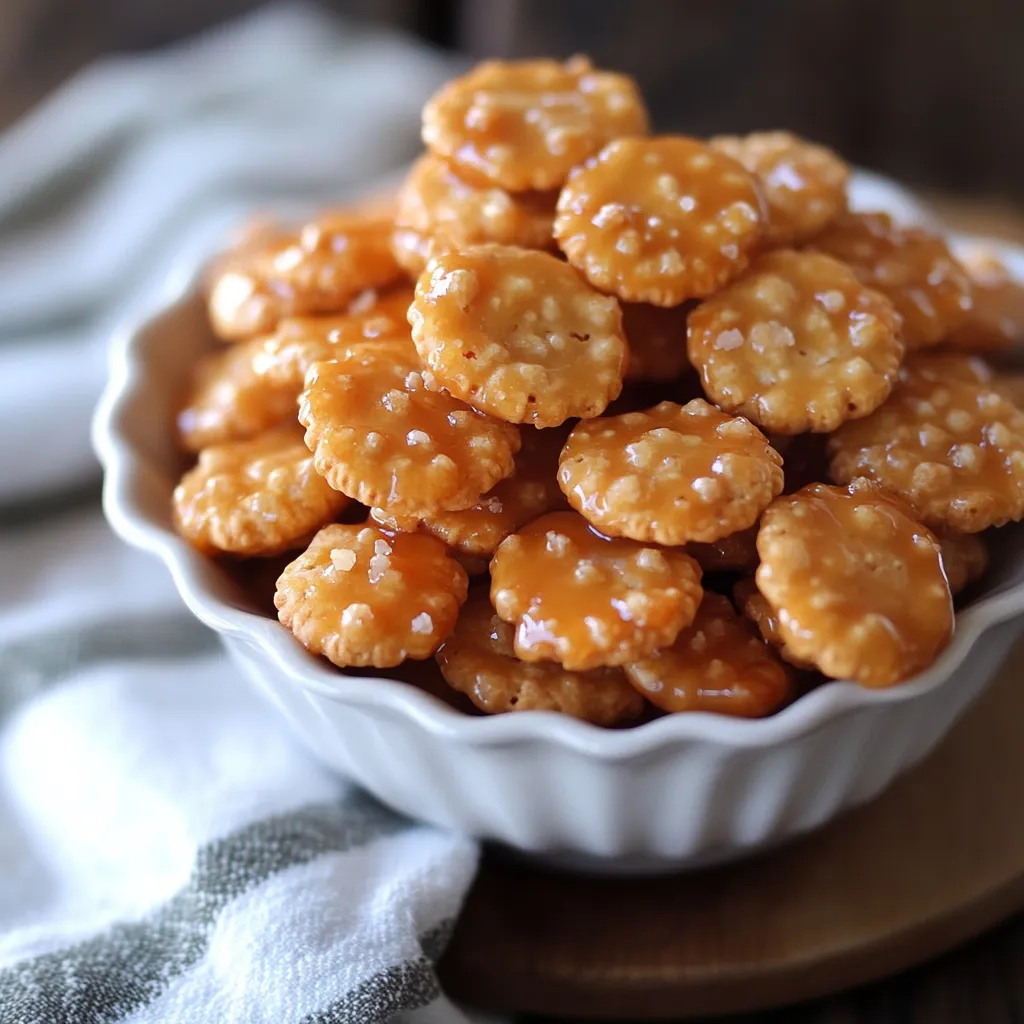
Sweet meets salty in these mouthwatering Caramelized Oyster Cracker Treats. Using a few simple items from your pantry, you'll turn basic crackers into an addictive snack that vanishes almost as soon as it's ready.
I brought these to a family get-together last December and watched the bowl empty in minutes. The magic happens when you carefully cook down the butter and brown sugar, creating that incredible coating that turns ordinary crackers into something everyone can't stop eating.
Key Components
- Oyster Crackers: These tiny, tough crackers don't fall apart when the caramel hits them
- Unsalted Butter: Going unsalted lets you control exactly how salty your final treats will be
- Brown Sugar: Go for dark brown for a richer caramel taste
- Pure Vanilla Extract: Just a tiny bit works wonders for the flavor
- Ground Cinnamon: A small amount adds cozy warmth to the caramel
- Sea Salt: Sprinkle those flaky bits on top for awesome flavor pops
Step-By-Step Guide
- Getting Ready:
- Set your oven to 350°F exactly - the right temp really matters. Put parchment on your baking sheet with extra hanging over the sides for easy lifting later. Lay crackers out in one layer with no touching. Have everything measured before you start the caramel since timing is everything.
- Making The Caramel (5-7 minutes):
- Melt your butter on medium heat but don't let it brown. Stir in the brown sugar and keep stirring so it heats evenly. Watch for bubbles all across the surface. You want a deep golden color and slightly thicker texture. Take it off the heat as soon as it looks right.
- Covering The Crackers (3-5 minutes):
- Pour your caramel over the crackers in a smooth, even flow. Mix gently with a soft spatula until all crackers are covered. Work fast because the caramel hardens quickly. Spread everything flat before it cools. Throw on your sea salt while everything's still hot.
- Oven Time (7-9 minutes):
- Put the tray on the middle rack of your heated oven. Keep an eye on things after 6 minutes since caramel burns fast. Look for an even golden-brown color. Pull them out when bubbles appear across the whole tray. Let them sit on the tray for 2 minutes.
- Final Touches:
- Add more salt if you want. Let everything cool all the way down at room temp. Once completely hard, break into chunks. Pack them up in an airtight container right away.
 Pin it
I first made these during a midnight snack attack when all I had was basic stuff in my kitchen. What started as just trying something new has turned into the treat everyone asks me to bring. I found out that getting the caramel to just the right color before pouring it on the crackers makes all the difference.
Heat Control Secrets
Getting these treats right means watching your temperatures carefully. Too hot and you'll burn the caramel; too cool and it won't stick properly. I've learned that keeping a medium heat and watching how things look instead of just following a timer works best.
Amazing Texture Changes
These crackers change in such a cool way. While they bake, some caramel soaks into the crackers but doesn't make them soggy. You end up with this perfect crunch that's not too hard or sticky when you bite in.
Expert Cooking Advice
- Don't try using fake butter or margarine - they just don't caramelize right
- Keep a wet pastry brush nearby to wipe down any sugar crystals
- Put parchment in your storage container so nothing sticks
- Better to make fresh small batches than one huge batch
Keeping Them Fresh
I've found these treats stay crunchier when kept in glass jars instead of plastic containers. Put pieces of parchment between layers so they don't stick together, and always let them cool completely before storing. When it's really humid, throw a few grains of rice in the container to soak up extra moisture.
Wrapping Them As Gifts
These make such good presents when packaged nicely. I put them in parchment-lined mason jars with a note saying 'best eaten within a week.' During Christmas, I sometimes add melted white chocolate drizzled on top with holiday sprinkles for extra wow factor.
Trying Different Flavors
- Mix in some toasted pecans with the hot caramel for a praline-style treat
- A little bit of cardamom gives them a fancy twist
- Try melted dark chocolate and orange zest on top for special times
- Switch vanilla for maple extract in fall
Fixing Common Problems
If your caramel looks grainy, you probably crystallized it while cooking. To avoid this, don't stir too hard and make sure all sugar melts before it boils. If your treats get sticky after a few days, pop them in a 300°F oven for 5 minutes to make them crunchy again.
 Pin it
These Caramelized Oyster Cracker Treats show what I love most about cooking at home - turning everyday ingredients into something amazing just by using the right techniques and paying attention to the details. Whether I make them for myself or for a big party, people always smile and ask how I made them.
Frequently Asked Questions
- → How do I keep these crunchy?
- Store in a sealed container to lock in freshness and crunchiness.
- → Are gluten-free crackers an option?
- Absolutely, swap the oyster crackers with a gluten-free option from your local store.
- → When’s the caramel done?
- After boiling, let it bubble for 2-3 minutes until it thickens.
- → Why bother lining the tray?
- It stops the caramel from sticking and makes cleanup way quicker.
- → How long should they cool off?
- Wait until they’re completely cool before breaking them up, so the caramel hardens properly.
