
 Pin it
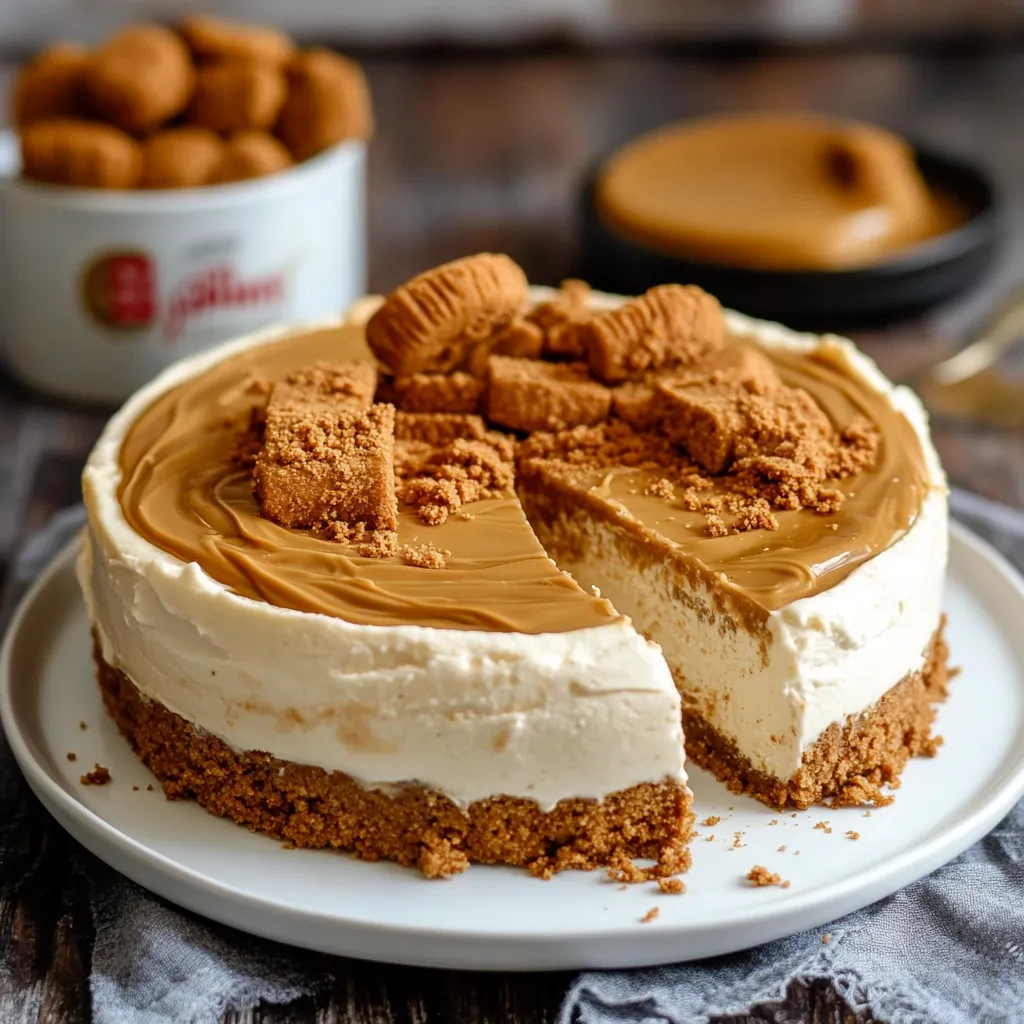
This smooth Biscoff cheesecake has been my go-to treat for countless family gatherings and dinner parties. The deep, caramel-like flavor of Biscoff cookies mixed with the velvety cheesecake creates something truly magical. I've tweaked this recipe many times to get just the right mix of flavors and textures.
I brought this to my neighbor's birthday last weekend. Watching everyone's faces light up with their first bite reminded me why I always share this recipe. Their plates were empty in minutes, and I left with three people asking me how to make it.
Crucial Ingredients Breakdown
- Biscoff Cookies: Our main attraction. Go for packages that aren't broken - damaged cookies might be past their prime
- Full-Fat Cream Cheese: My golden rule: always get good quality cream cheese. It's what makes our cheesecake special
- Double Cream: Must be cold and fresh. A gentle shake should tell you it's nice and thick
- Biscoff Spread: Our hidden gem that boosts the caramel taste
- Unsalted Butter: Keeps our base firmly together
- Optional Toppings: Extra cookies for decoration, fresh fruit adds nice contrast
Easy-to-Follow Method
- Getting Your Tools Ready:
- Find a deep 9-inch springform pan. Put parchment on the bottom, letting it come up the sides a bit. Grease the sides with some butter.
- Making Your Amazing Base:
- Crush Biscoff cookies into fine bits using whatever you have handy. Melt your butter and mix it with the crumbs until everything's coated. Press it down into your pan and chill it.
- Creating The Filling:
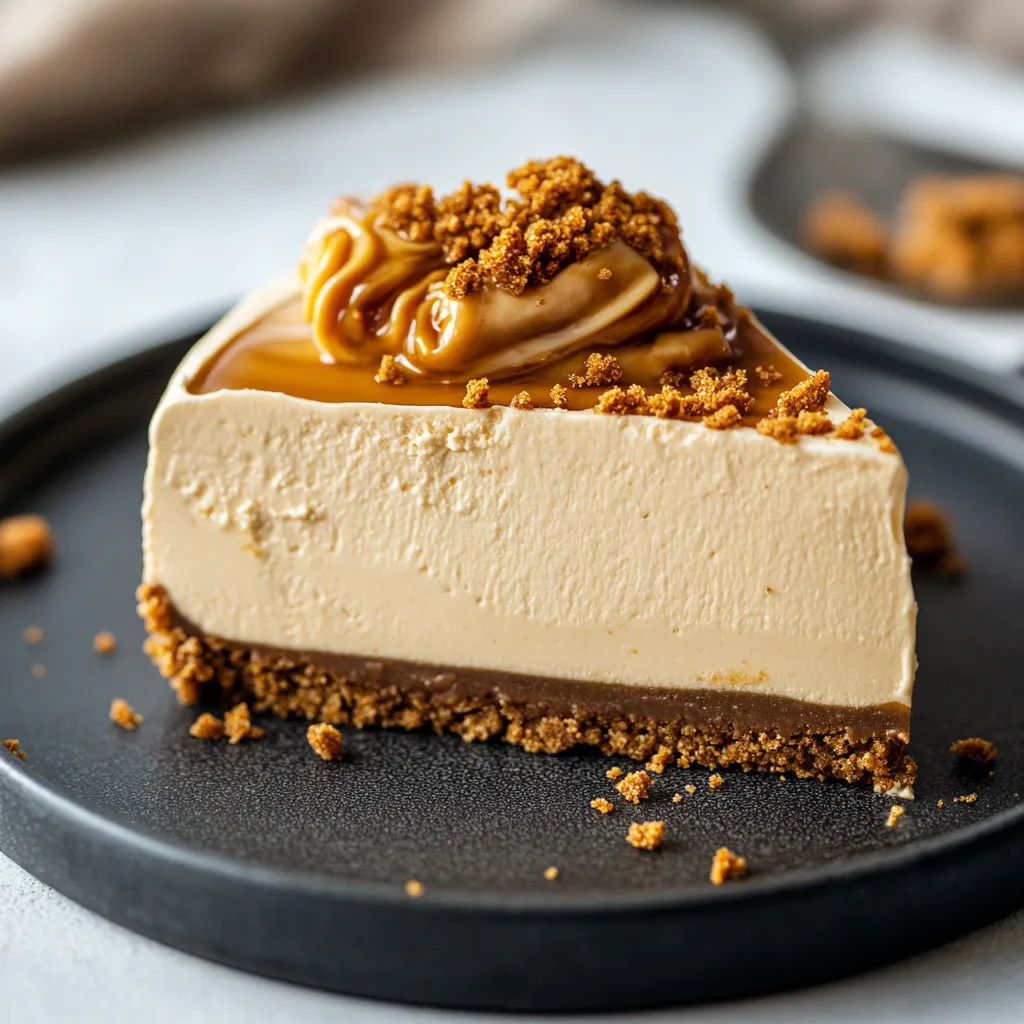
- Whip room temp cream cheese until it's nice and fluffy. Slowly mix in your Biscoff spread. Beat cold double cream to soft peaks, then gently fold it in.
- Putting It All Together:
- Mix the cream into your cheese mixture. Pour it over your chilled base and smooth it out. Tap your pan gently to pop any air bubbles.
- Adding The Finishing Touches:
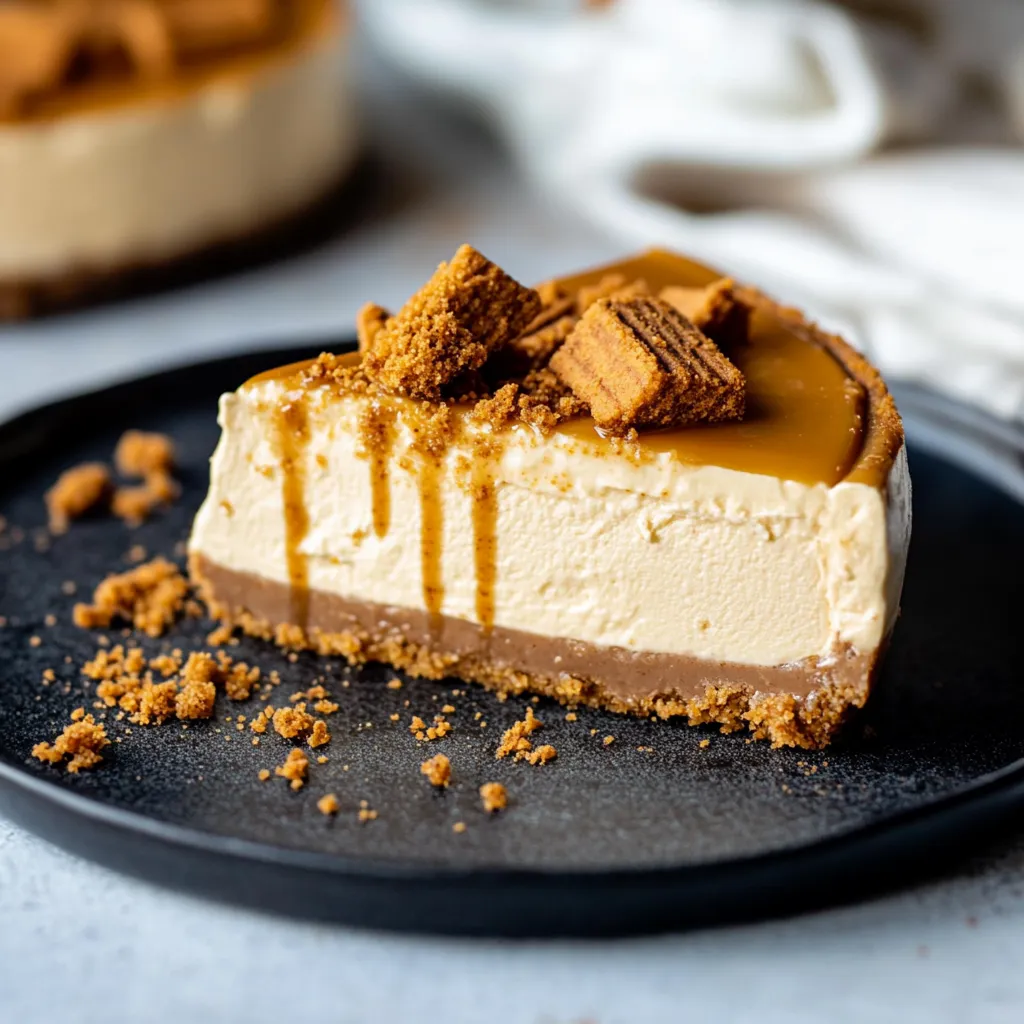
- Warm up some more Biscoff spread and drizzle it on top. Sprinkle broken cookies around the edge before the spread hardens.
 Pin it
My daughter can't get enough of Biscoff spread now. She always has jars ready just for making this cheesecake. That warm spiced, caramel flavor makes me think of relaxing afternoons with coffee.
Getting That Silky Texture
The secret to that creamy smoothness is all about temperature. Each ingredient does its part to make the perfect slice. Let your cheesecake sit out for 15-20 minutes before serving to really bring out all the flavors.
Ways To Serve It
This cheesecake tastes fantastic on its own, but I love adding seasonal touches. Fresh raspberries add a nice tang in summer. A light sprinkle of cinnamon works great in fall. For special events, try adding a thin stream of dark chocolate on top.
Keeping It Fresh
Your cheesecake will stay good in the fridge for up to 5 days if covered. Use a cake cover or carefully wrap it without touching the top. If you want to freeze it, cut it first and put wax paper between slices so you can thaw them one at a time.
Fixing Common Problems
If your filling seems too runny, you probably didn't whip the cream enough. Stick it in the freezer for 30 minutes before going on. If your base falls apart, just chill it a bit longer.
 Pin it
I've made tons of cheesecakes over the years, but this Biscoff version stands out as my best. There's something special about turning simple stuff into something that makes people happy. It's not just about eating cake - it's about making memories around the table.
Frequently Asked Questions
- → How long should it chill before serving?
- It needs at least 4 hours to firm up, but leaving it overnight gives you the best results.
- → Can I use low-fat cream cheese?
- Full-fat cream cheese is essential for the right texture and to help it hold its shape without baking.
- → Is it good for preparing in advance?
- Absolutely! It's great for prepping ahead since it needs fridge time and keeps well.
- → How do I release it from the tin easily?
- Warm a knife and gently run it along the edge to loosen the cheesecake for easy slicing.
- → Why is gentle melting of Biscoff spread important?
- Heating it slowly prevents overheating, so it doesn’t ruin the creamy layer underneath.