
 Pin it
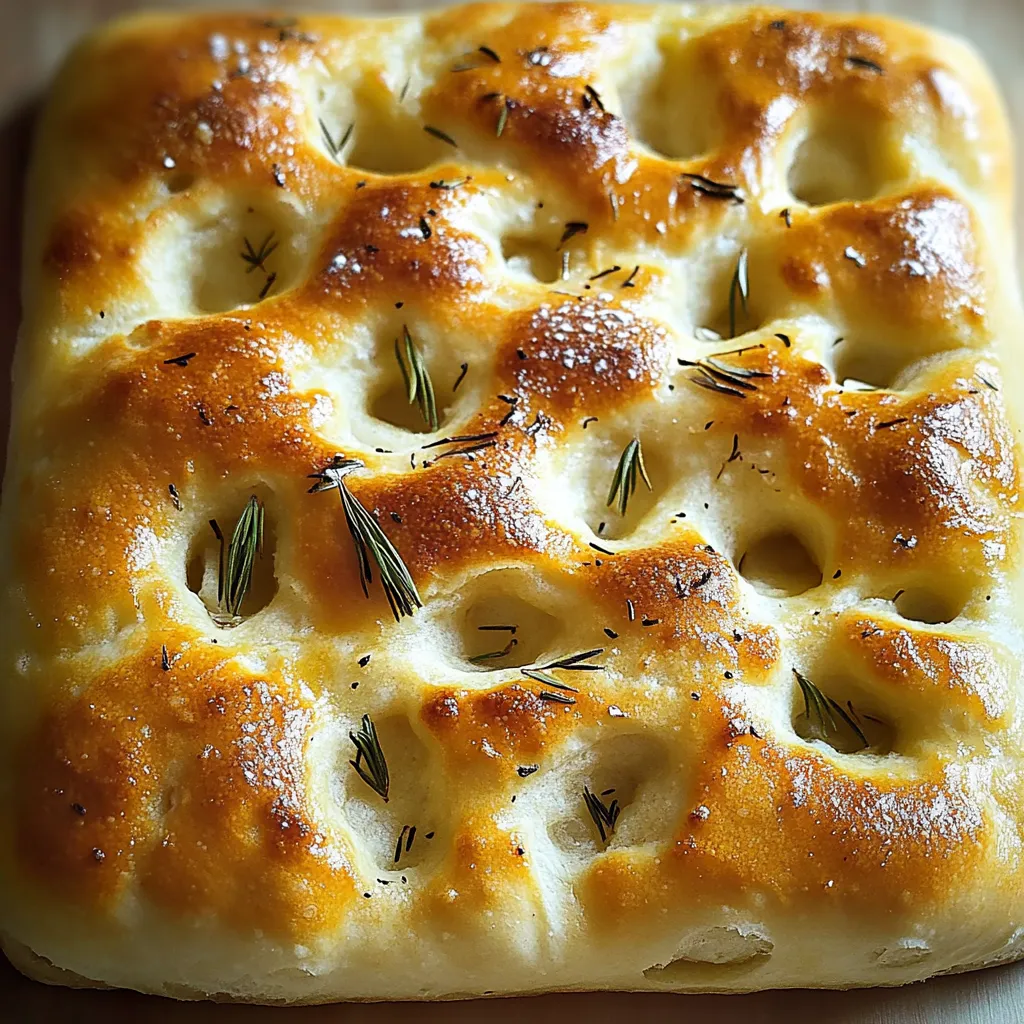
Walking into a kitchen filled with the smell of freshly baked focaccia takes me right back to wandering through small towns in Italy. This simple bread, known for its poked surface and rich golden exterior, has turned into my family's favorite for dinners and get-togethers – it never lasts more than minutes after coming out hot.
I've tried making this bread dozens of ways, and I've found letting it rise slowly builds those wonderful air bubbles that make focaccia stand out. My neighbors now show up like clockwork when they catch that unmistakable scent drifting down the street.
Fantastic Ingredient Basics
- Bread Flour: Go for unbleached bread flour to get that satisfying chew. Its extra protein helps create those gorgeous air pockets
- Extra Virgin Olive Oil: Don't be cheap here - a good quality oil makes all the difference in taste
- Active Dry Yeast: Keep it in the fridge in something airtight so it stays fresh longer
- Sea Salt: Try the flaky type for both better flavor and that wonderful crunch on top
- Fresh Rosemary: Look for bright, strong-smelling branches without any dull or dark spots
Clear Step-by-Step Process
- Step 1: Mixing Your Base (25 minutes):
- First, wake up your yeast in water that's just warm to touch. In another bowl, combine your flour and salt, then make a hole in the middle. Add your oil first, then pour in the yeast mix, stirring carefully to avoid flour explosions. Keep kneading until the dough feels as soft as your earlobe when you pinch it.
- Step 2: Getting That First Puff (1-2 hours):
- Coat your bowl with plenty of oil - it'll soak into the dough as it grows. Cover using a wet dishcloth instead of plastic. Put it in your oven with only the light switched on for perfect warmth. Wait for it to double up and show lots of tiny bubbles.
- Step 3: Pressing and Poking (15 minutes):
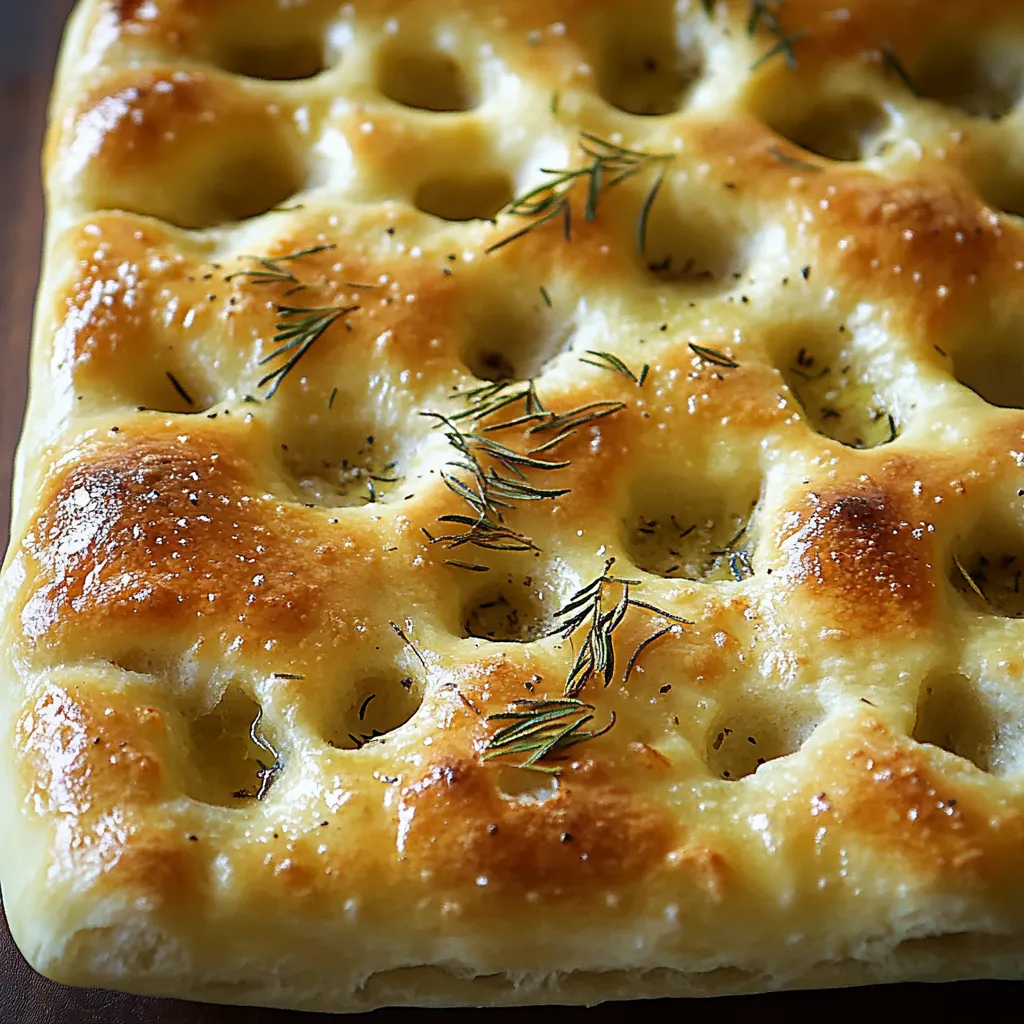
- Pour enough oil on your baking tray to make it gleam. Carefully pull the dough like you're stretching sheets, letting it rest when it fights back. Press deep holes with all your fingers, pushing almost to the pan. Let the dough pop back up slightly between presses.
- Step 4: Waiting and Baking (45 minutes):
- Notice how the holes slowly fill out during this last rise. Pour oil generously into each dent. Toss salt from above to spread it evenly. Bake until it turns the color of amber honey.
 Pin it
When I was little, my nonna always said good focaccia should have "golden valleys" - those oil-filled dents that make every bite amazing.
Mix-and-Match Toppings
Adding fresh herbs, small tomatoes, and olives can turn this bread into something you can call dinner. In warmer months, I can't get enough of thin slices of lemon paired with fresh rosemary.
Prep-Ahead Options
You can let the dough sit in the fridge overnight, which actually makes it taste even better. Just give it time to warm up before you start shaping it.
Ways To Enjoy
Don't bother with a knife - just rip chunks off instead. Those uneven pieces are perfect for dunking in olive oil or soaking up whatever sauce is on your plate.
Keeping It Fresh
Got leftovers? First wrap them in a cotton towel, then put that inside a paper bag. This trick keeps the outside crisp while the inside stays soft.
 Pin it
Making focaccia has taught me that taking your time makes all the difference. This bread might look simple, but it's really the small things - how you add the oil, the way you poke the dough - that turn basic stuff from your pantry into something everyone fights over. Each time I bake it, I understand why people have loved this bread for hundreds of years.
Frequently Asked Questions
- → Is bread flour mandatory for this recipe?
- Not at all. All-purpose flour works, though bread flour gives it a chewier feel.
- → What’s the best way to check if the dough is ready?
- Look for it to double in size. This usually takes between one and two hours if the spot is warm.
- → Can I change up the toppings?
- Of course! Try a mix of olives, tomatoes, or even caramelized onions if you like.
- → What’s the purpose of dimpling the dough?
- It gives focaccia its classic look and lets oil collect in the little pockets for extra flavor.
- → How do you keep leftover pieces fresh?
- Use an airtight container to store it for two days. Pop it in the freezer if you need more time.