
 Pin it
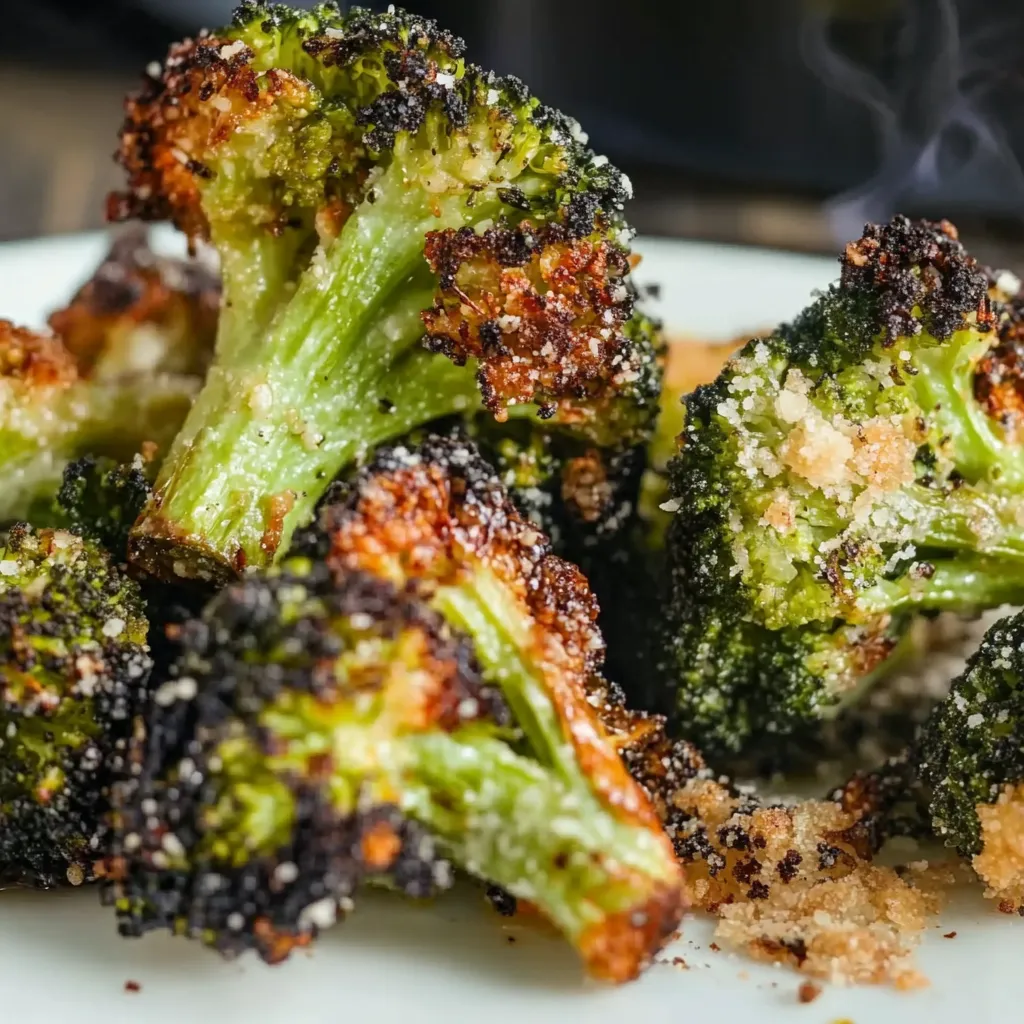
Turning ordinary broccoli into a mouthwatering side, this roasting technique delivers crunchy edges and soft stems packed with garlic and parmesan flavors. Cooking at high heat brings out broccoli's natural sweetness while creating a golden, crunchy outer layer that makes this veggie the highlight of any dinner.
I first tried making this when I was just trying to get my family to eat more veggies. The minute those crunchy, garlicky florets came out of the oven, I knew steamed broccoli was a thing of the past.
Key Ingredient Guide
- Broccoli: Pick ones with deep green, tight bunches and strong stems - skip any with yellow spots or mushy parts.
- Parmesan Cheese: Grate it yourself - the stuff in containers won't melt right or get crispy.
- Olive Oil: Go for good extra virgin for better taste and browning.
- Fresh Garlic: Find firm, heavy heads with tight cloves - avoid any sprouting or dried-out ones.
- Italian Seasoning: A good mix really boosts the Mediterranean taste.
- Garlic Powder: Brings another layer of flavor that works well with fresh garlic.
- Kosher Salt: Its bigger grains help pull out moisture so everything crisps up better.
Making Your Standout Roasted Broccoli
- Step 1 - Get Your Gear Ready:
- Put your oven rack in the bottom third for better heat flow. Cover your baking sheet with parchment for easier cleanup and nicer browning. Have everything measured out before you start.
- Step 2 - Prep Your Broccoli Right:
- Cut into same-sized, bite-ready pieces for even cooking. Pat completely dry with kitchen towels to help it crisp up. Slice stems into matching pieces - they taste just as good as the tops.
- Step 3 - Add Flavors Carefully:
- Mix with oil first to coat everything evenly. Sprinkle seasonings bit by bit while turning to spread them around. Use your fingers to rub seasonings into all the little nooks.
- Step 4 - Set Up For Success:
- Leave room between pieces to stop steaming. Put cut sides facing down for better browning. Keep everything in one layer - crowding makes soggy broccoli.
- Step 5 - Watch While It Cooks:
- Check after about 10 minutes. Turn the pan and flip pieces for all-around browning. Look for golden edges and test if stems are tender.
 Pin it
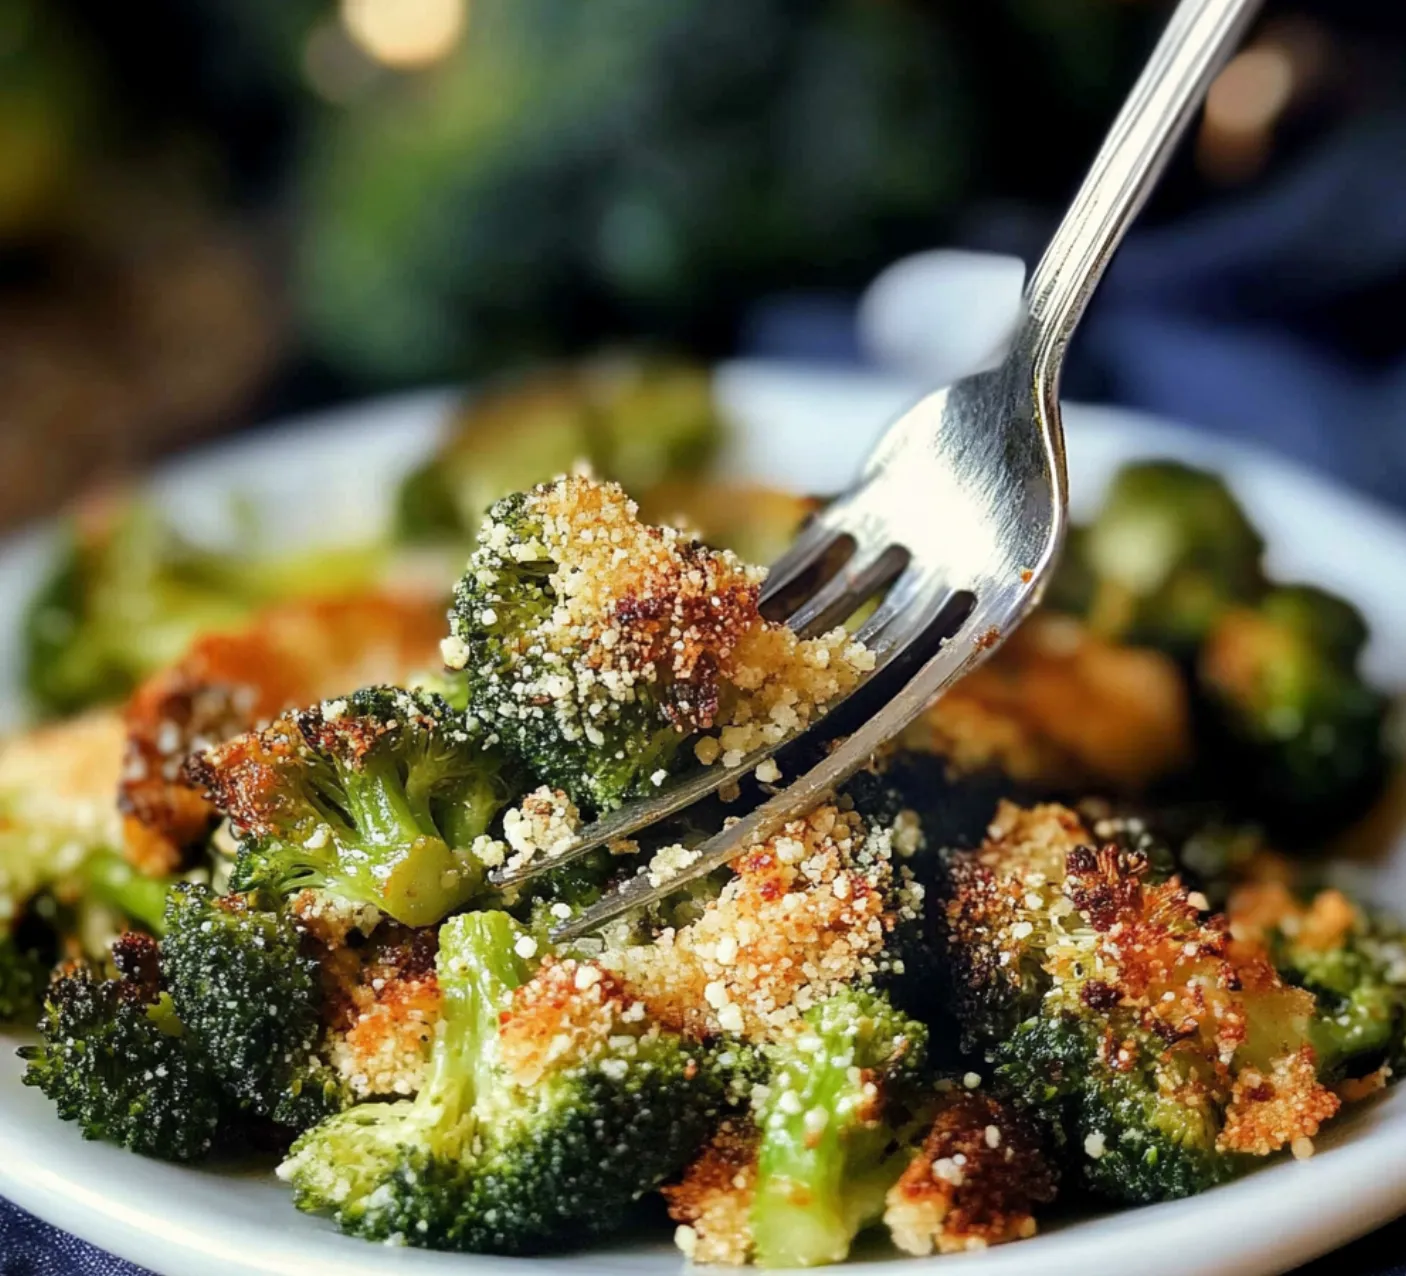
When I was little, my mom always taught us to use the whole vegetable. Now I smile watching my kids gobble up these crunchy stems, carrying on those important kitchen traditions.
I'm always surprised by how flexible this roasted broccoli can be. It works just as well with a quick weeknight pasta as it does for fancy dinner guests.
For our crazy schedule, this recipe's been a game-changer. The leftover crunchy bits are awesome in next-day egg dishes, grain bowls, or cold salads.
As the year goes by, I change how I make this. In hot weather, I'll cook it in a cast iron pan on the grill so we don't heat up the kitchen.
Having friends over got way easier once I figured out I could partly roast the broccoli earlier and finish it right before we eat.
 Pin it
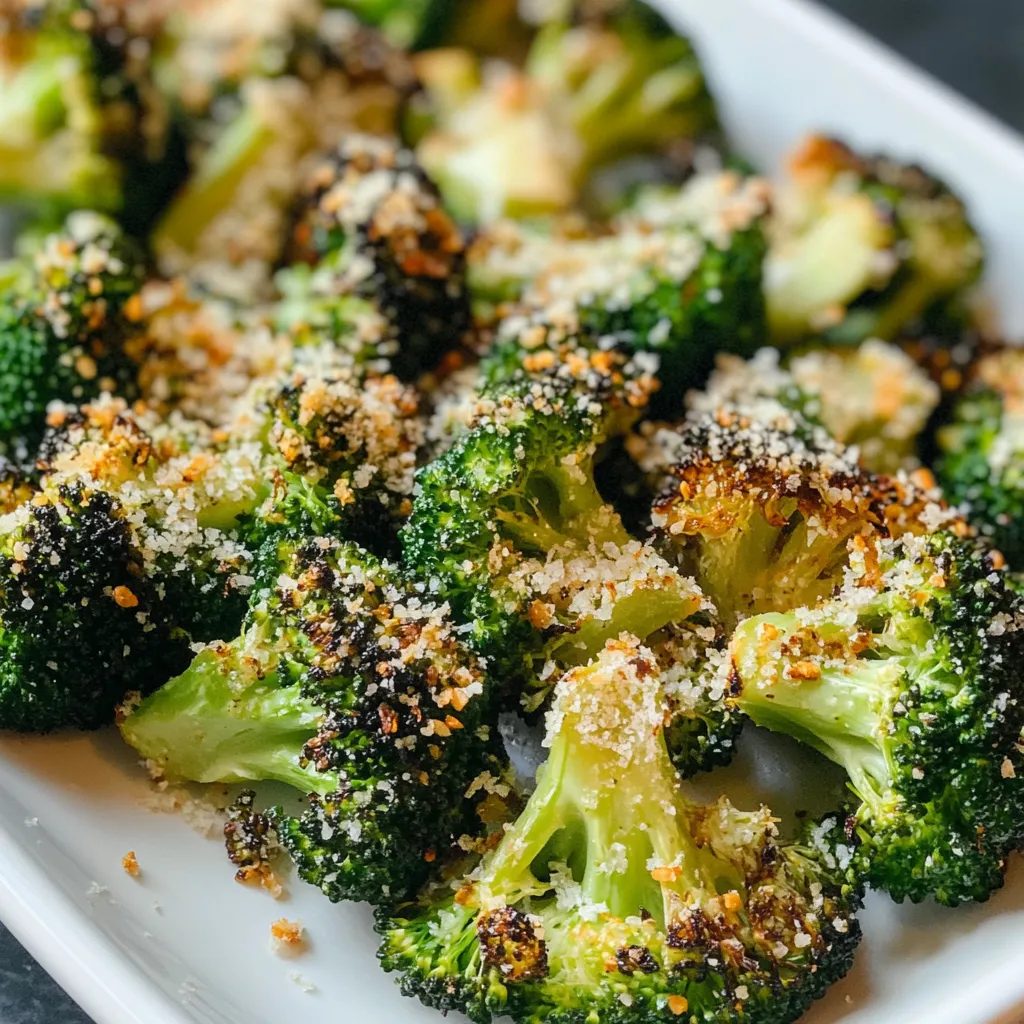
After making tons of batches, I'm still blown away by how such a basic cooking method can make something so tasty. It's become more than just a way to cook broccoli - it reminds me that great food doesn't need fancy techniques or weird ingredients, just care with the details and love for what you're cooking.
Frequently Asked Questions
- → Why bake broccoli on the lower oven rack?
- It ensures golden edges and helps avoid burning the tops too quickly.
- → Why should I flip it while roasting?
- Flipping makes sure all sides brown evenly without burning one side.
- → When is the broccoli ready to serve?
- The florets should look golden-crispy, and a knife should slide into the stems easily.
- → Can I cook this in advance?
- It’s tastiest served hot and crisp, but you can reheat leftovers if needed.
- → Why use powder and fresh garlic together?
- Garlic powder spreads evenly for deep flavor, while fresh garlic adds sharpness.